Portable Craft Made Wooden Toolboxes
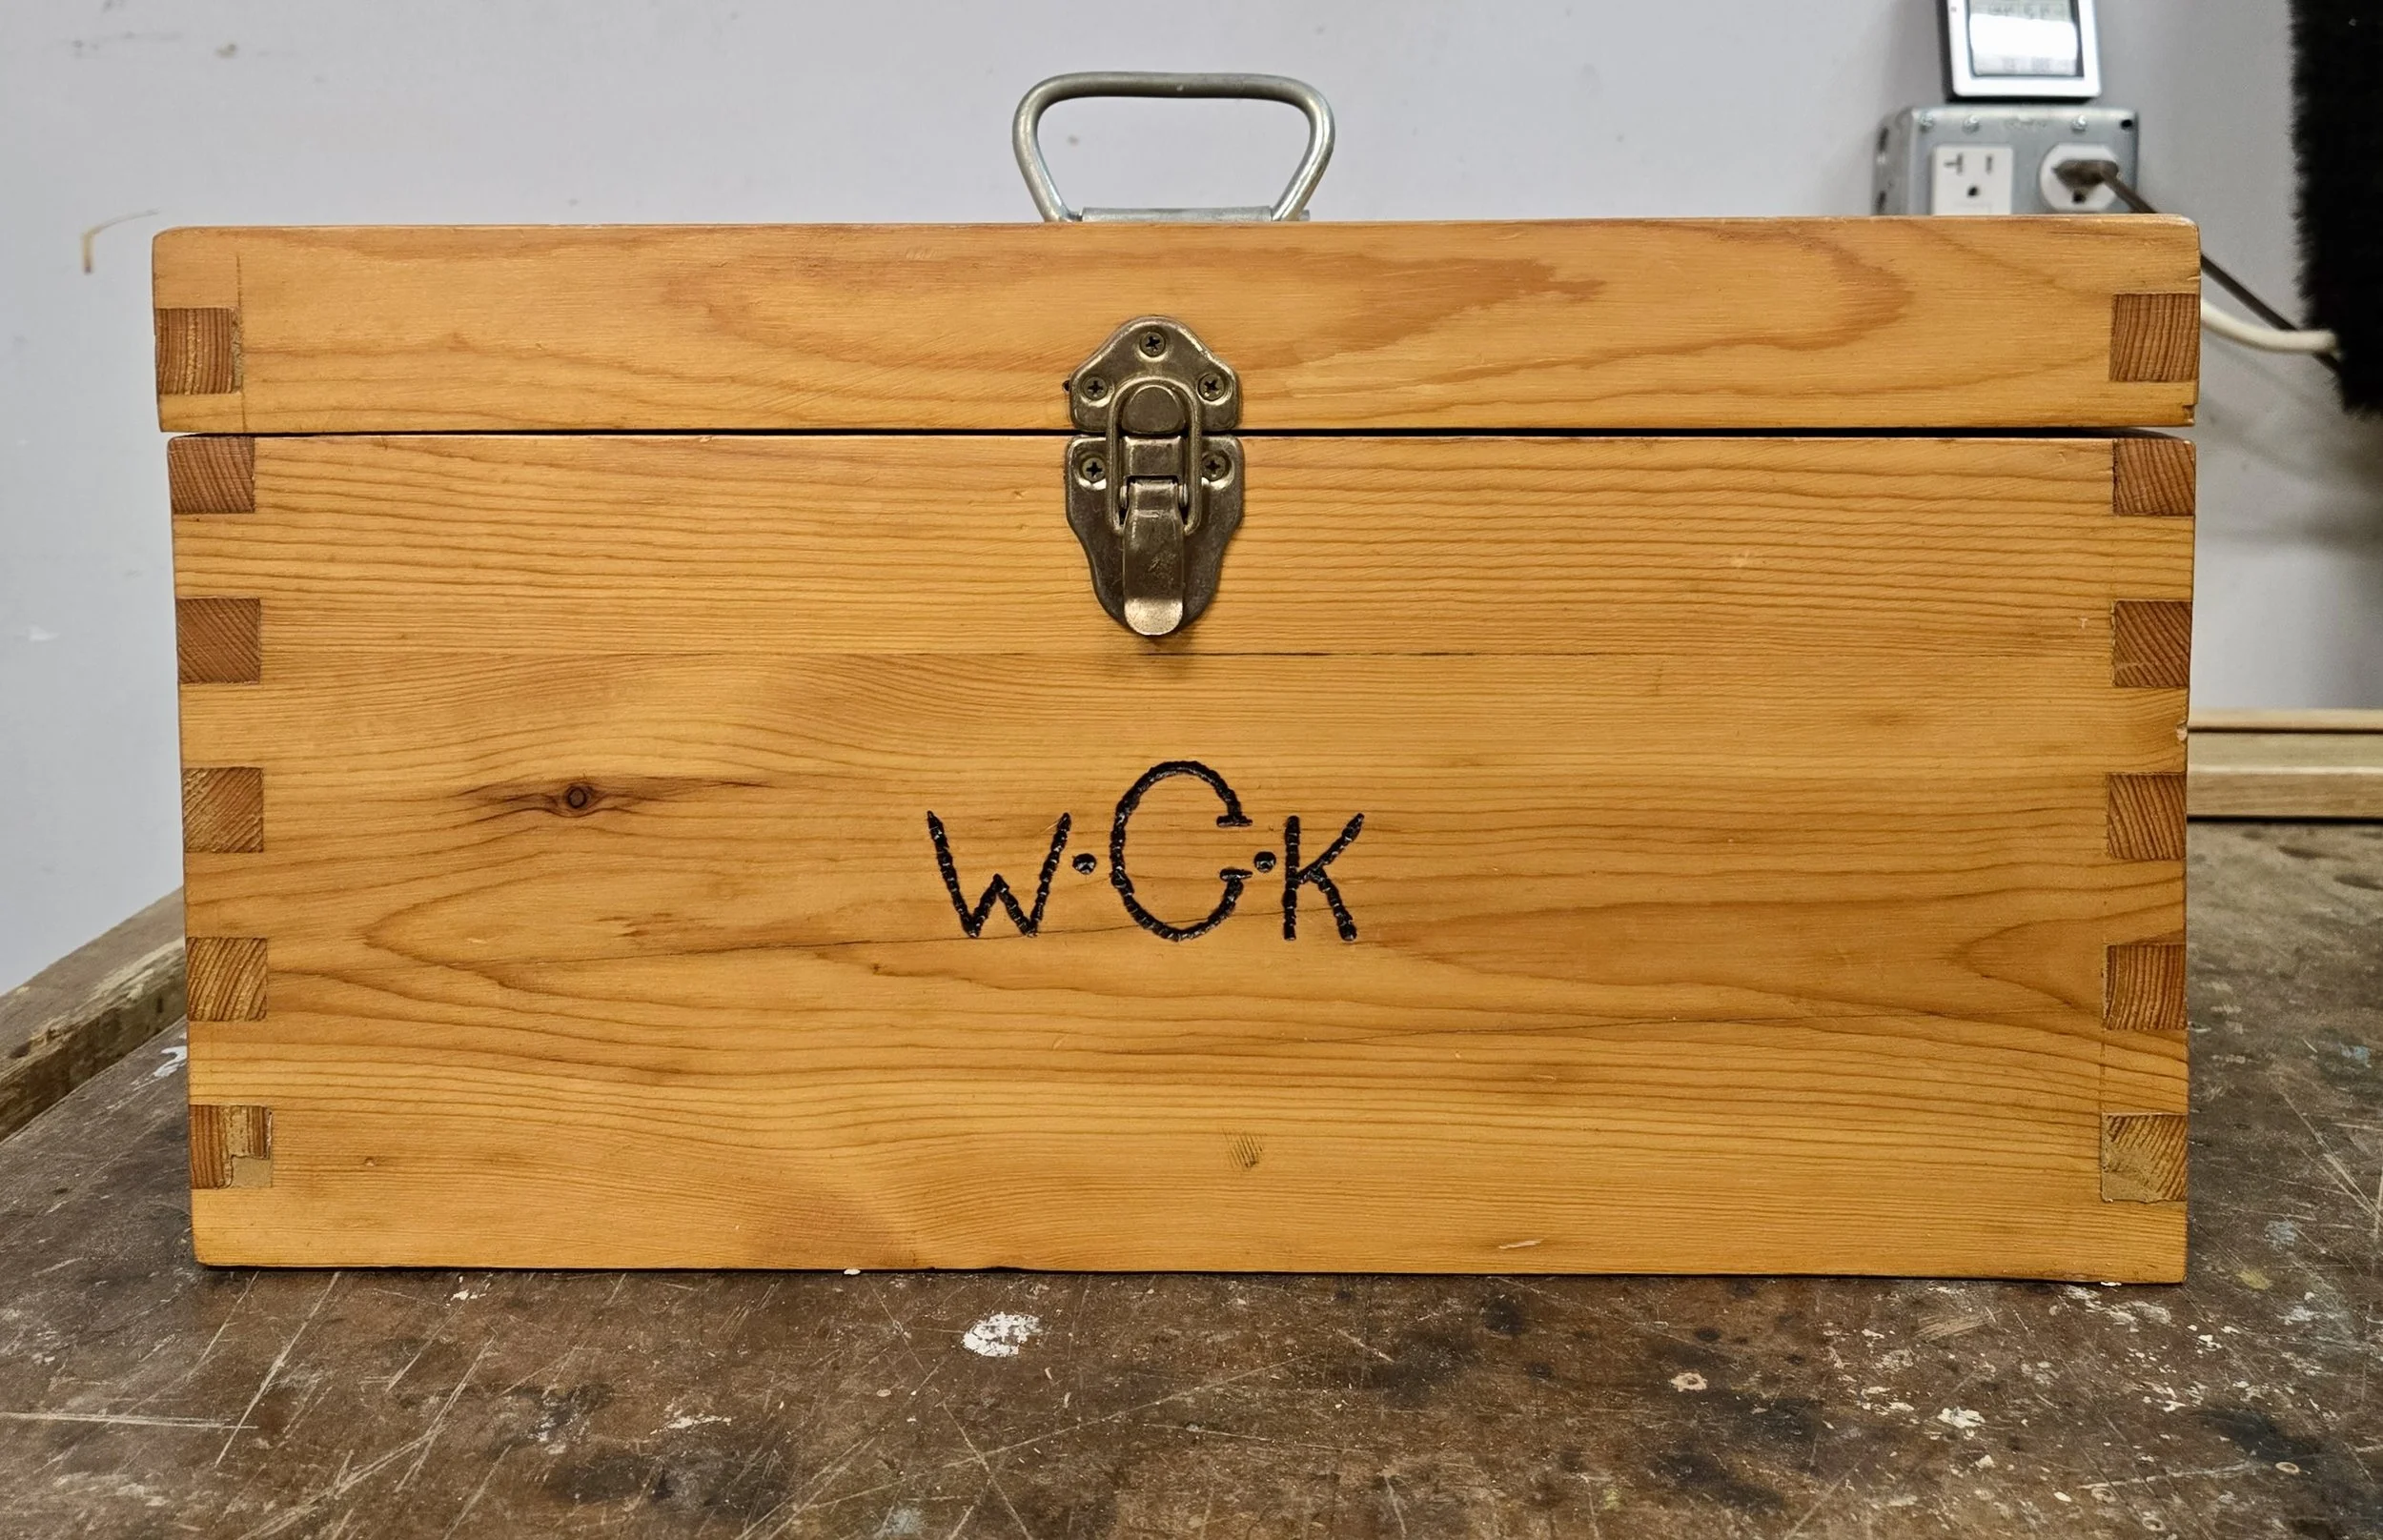
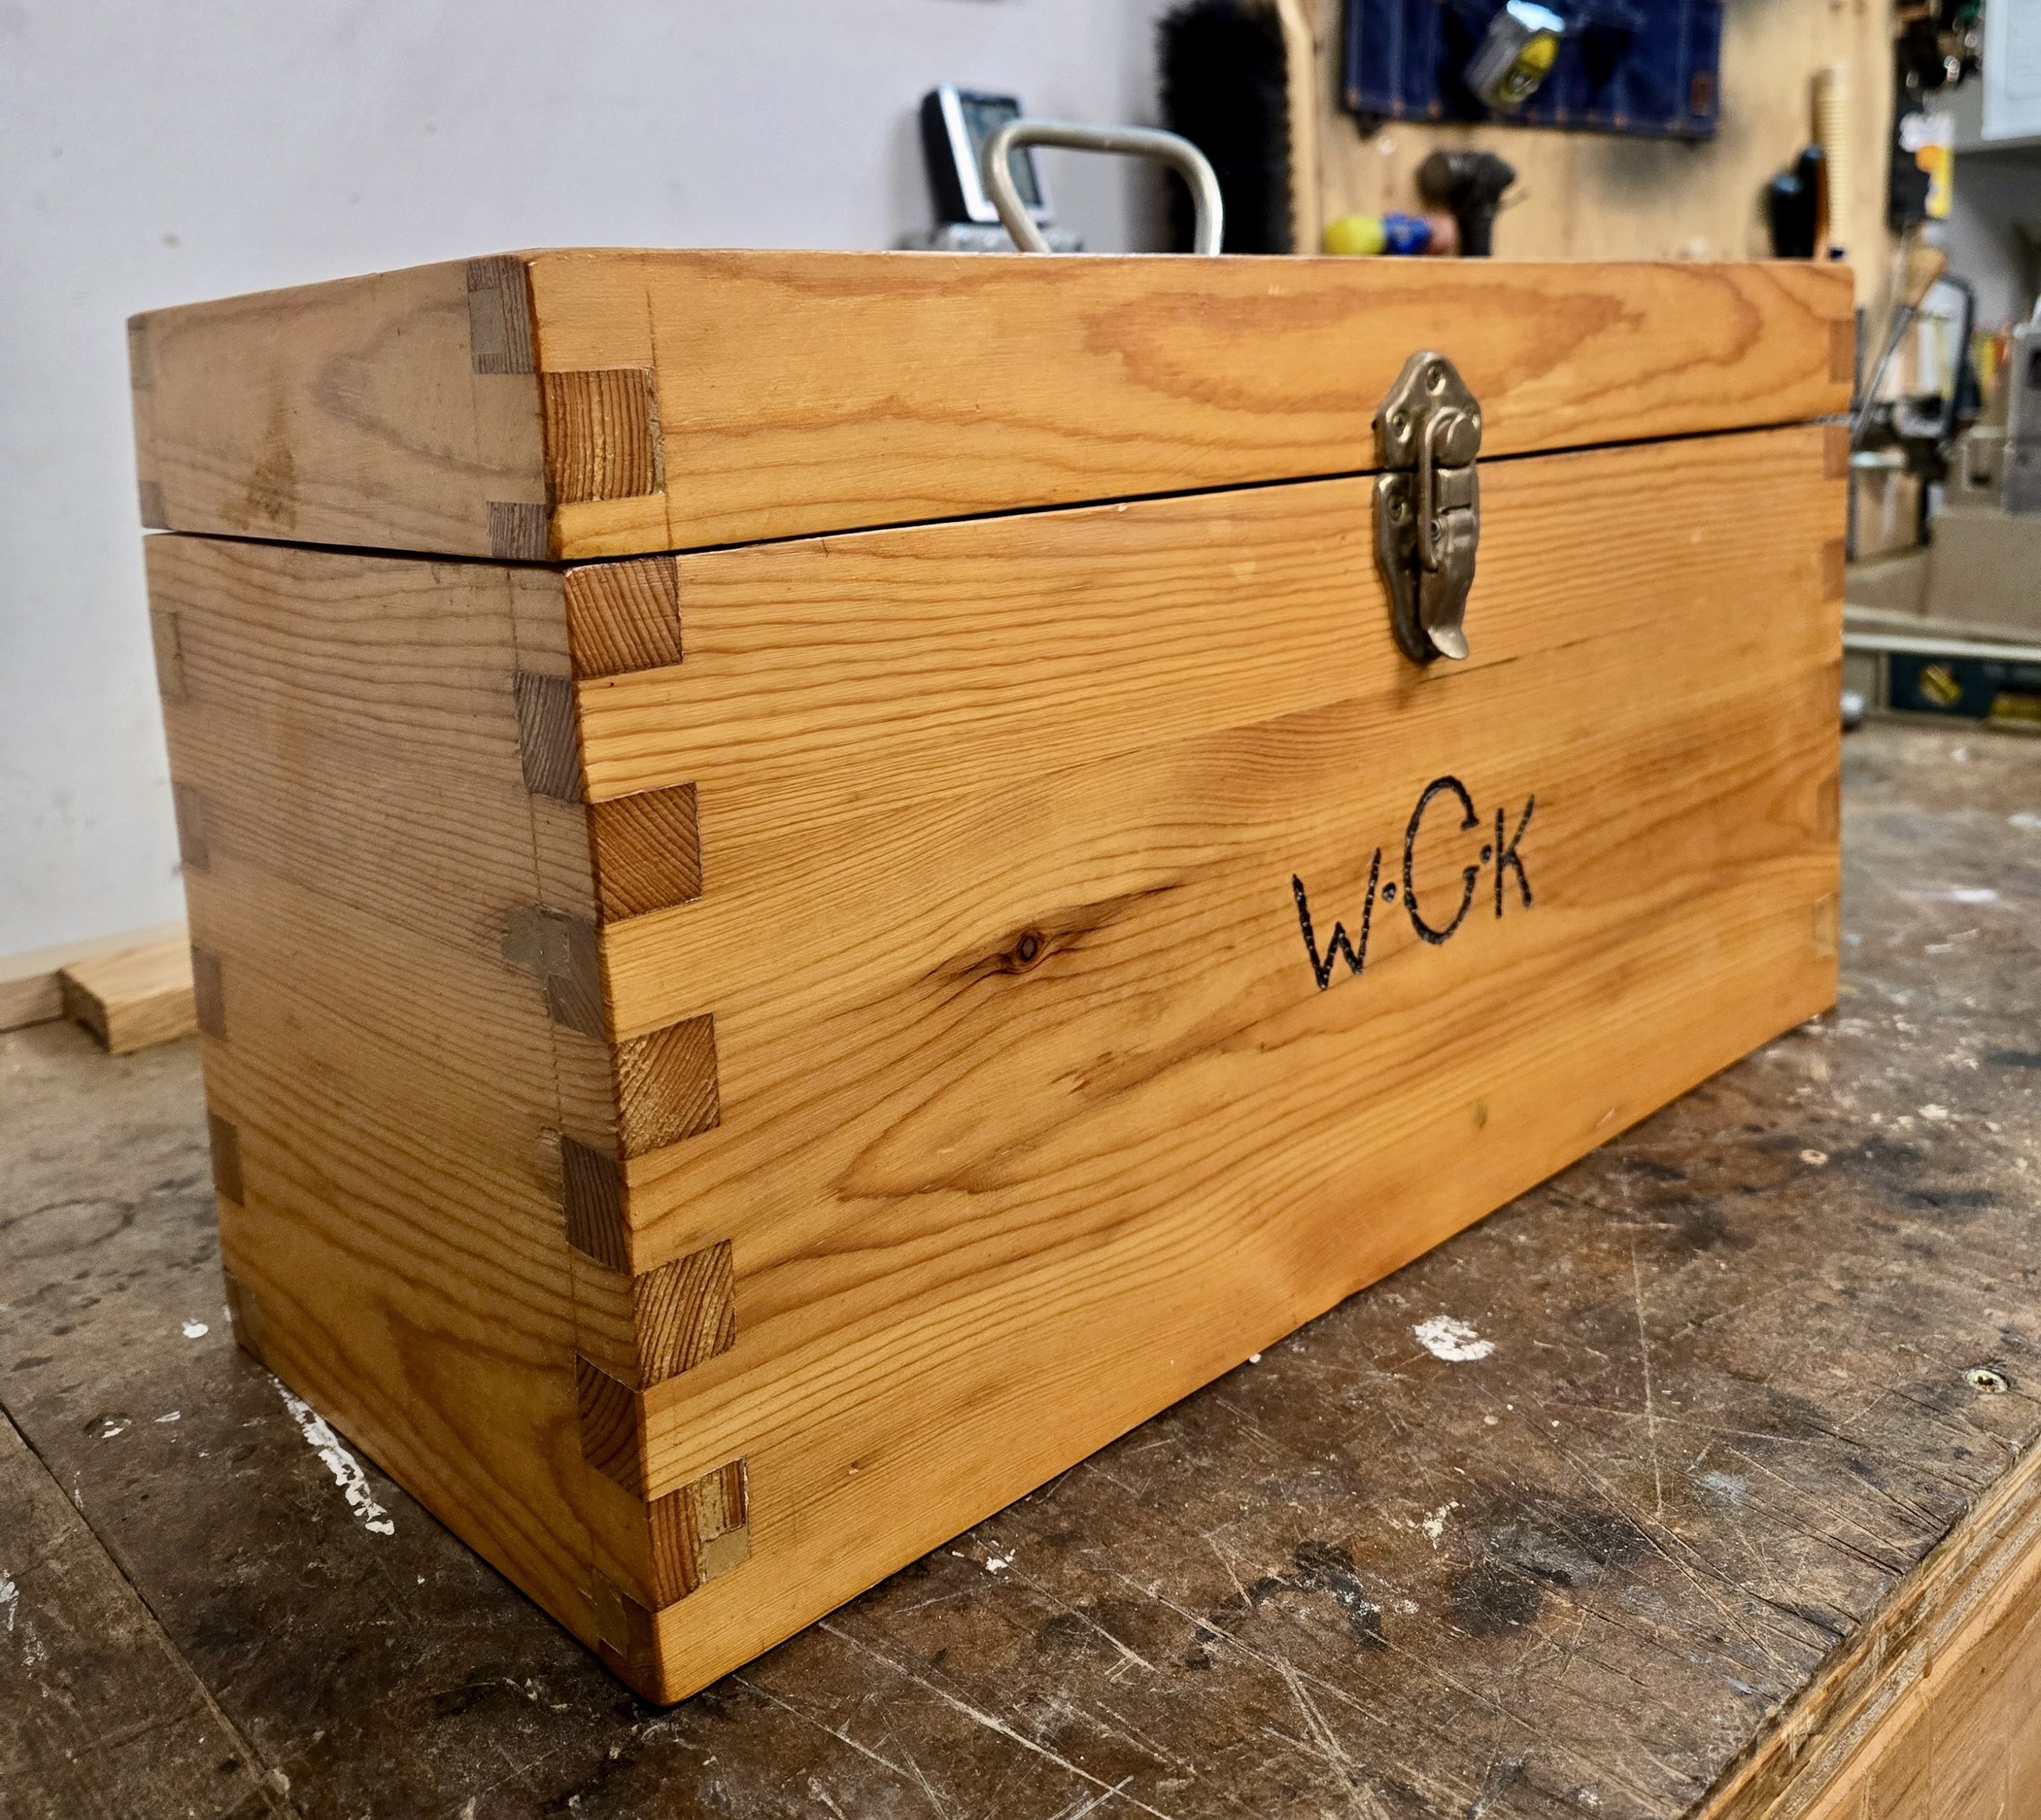
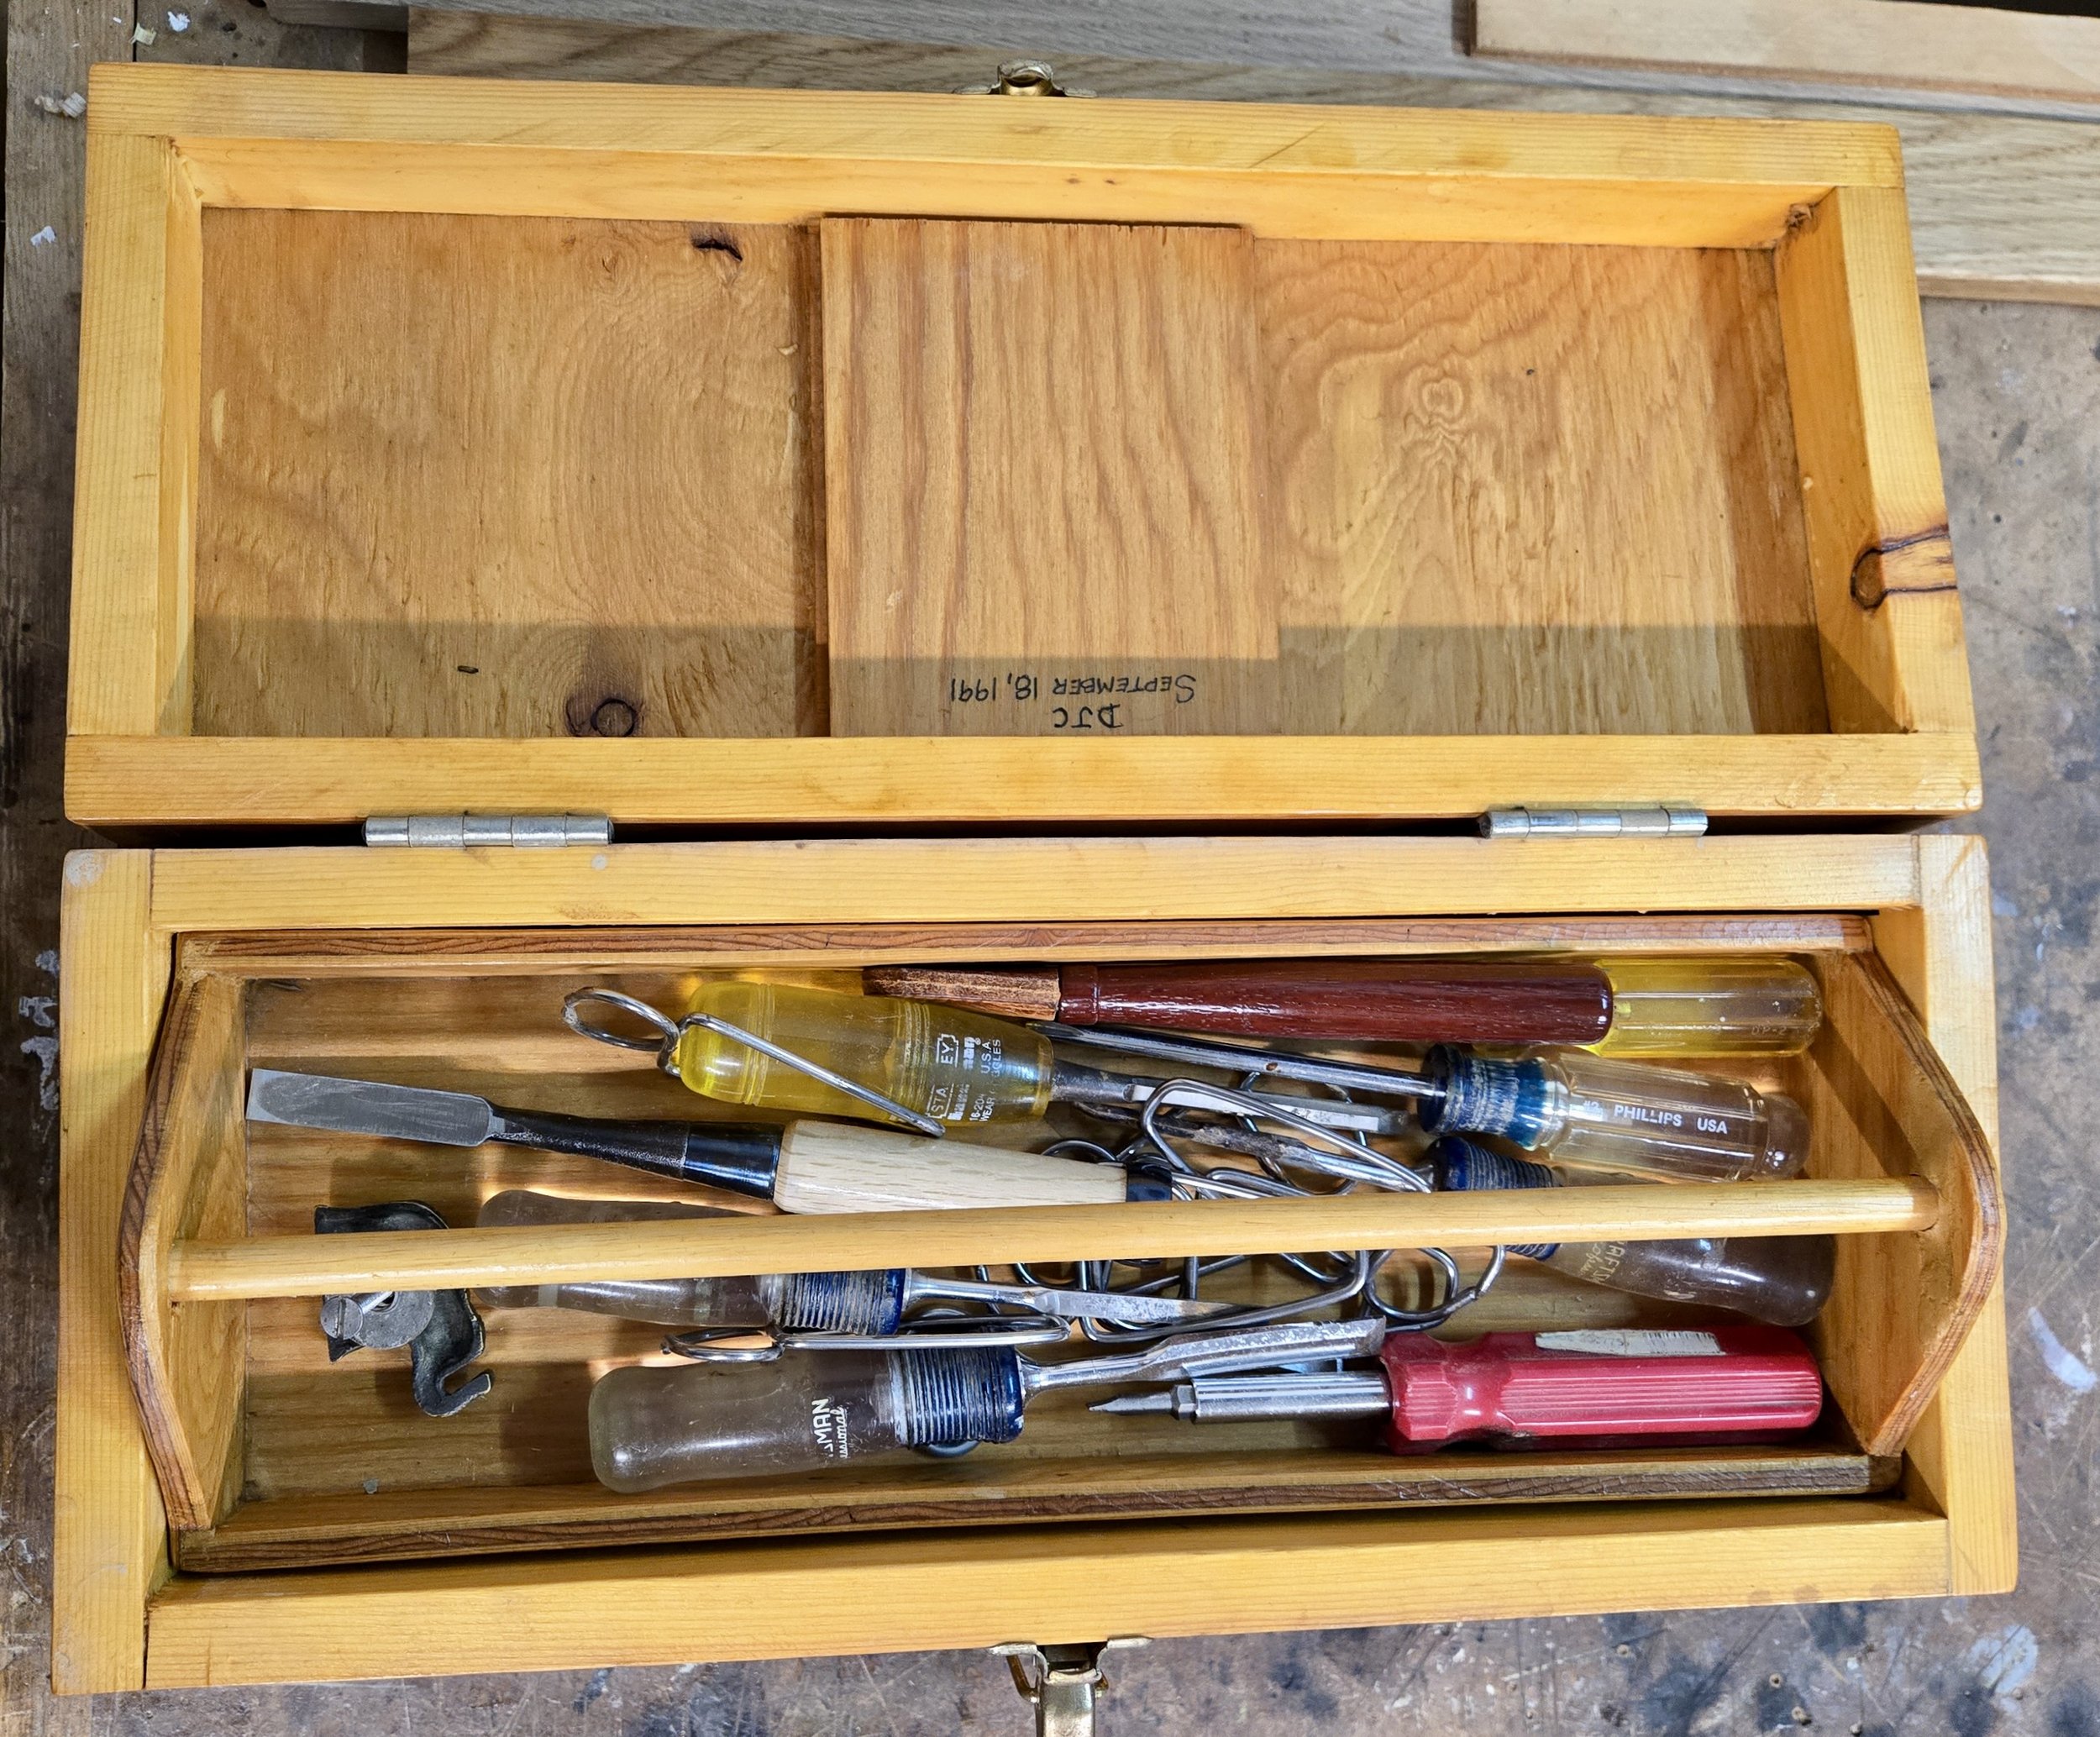
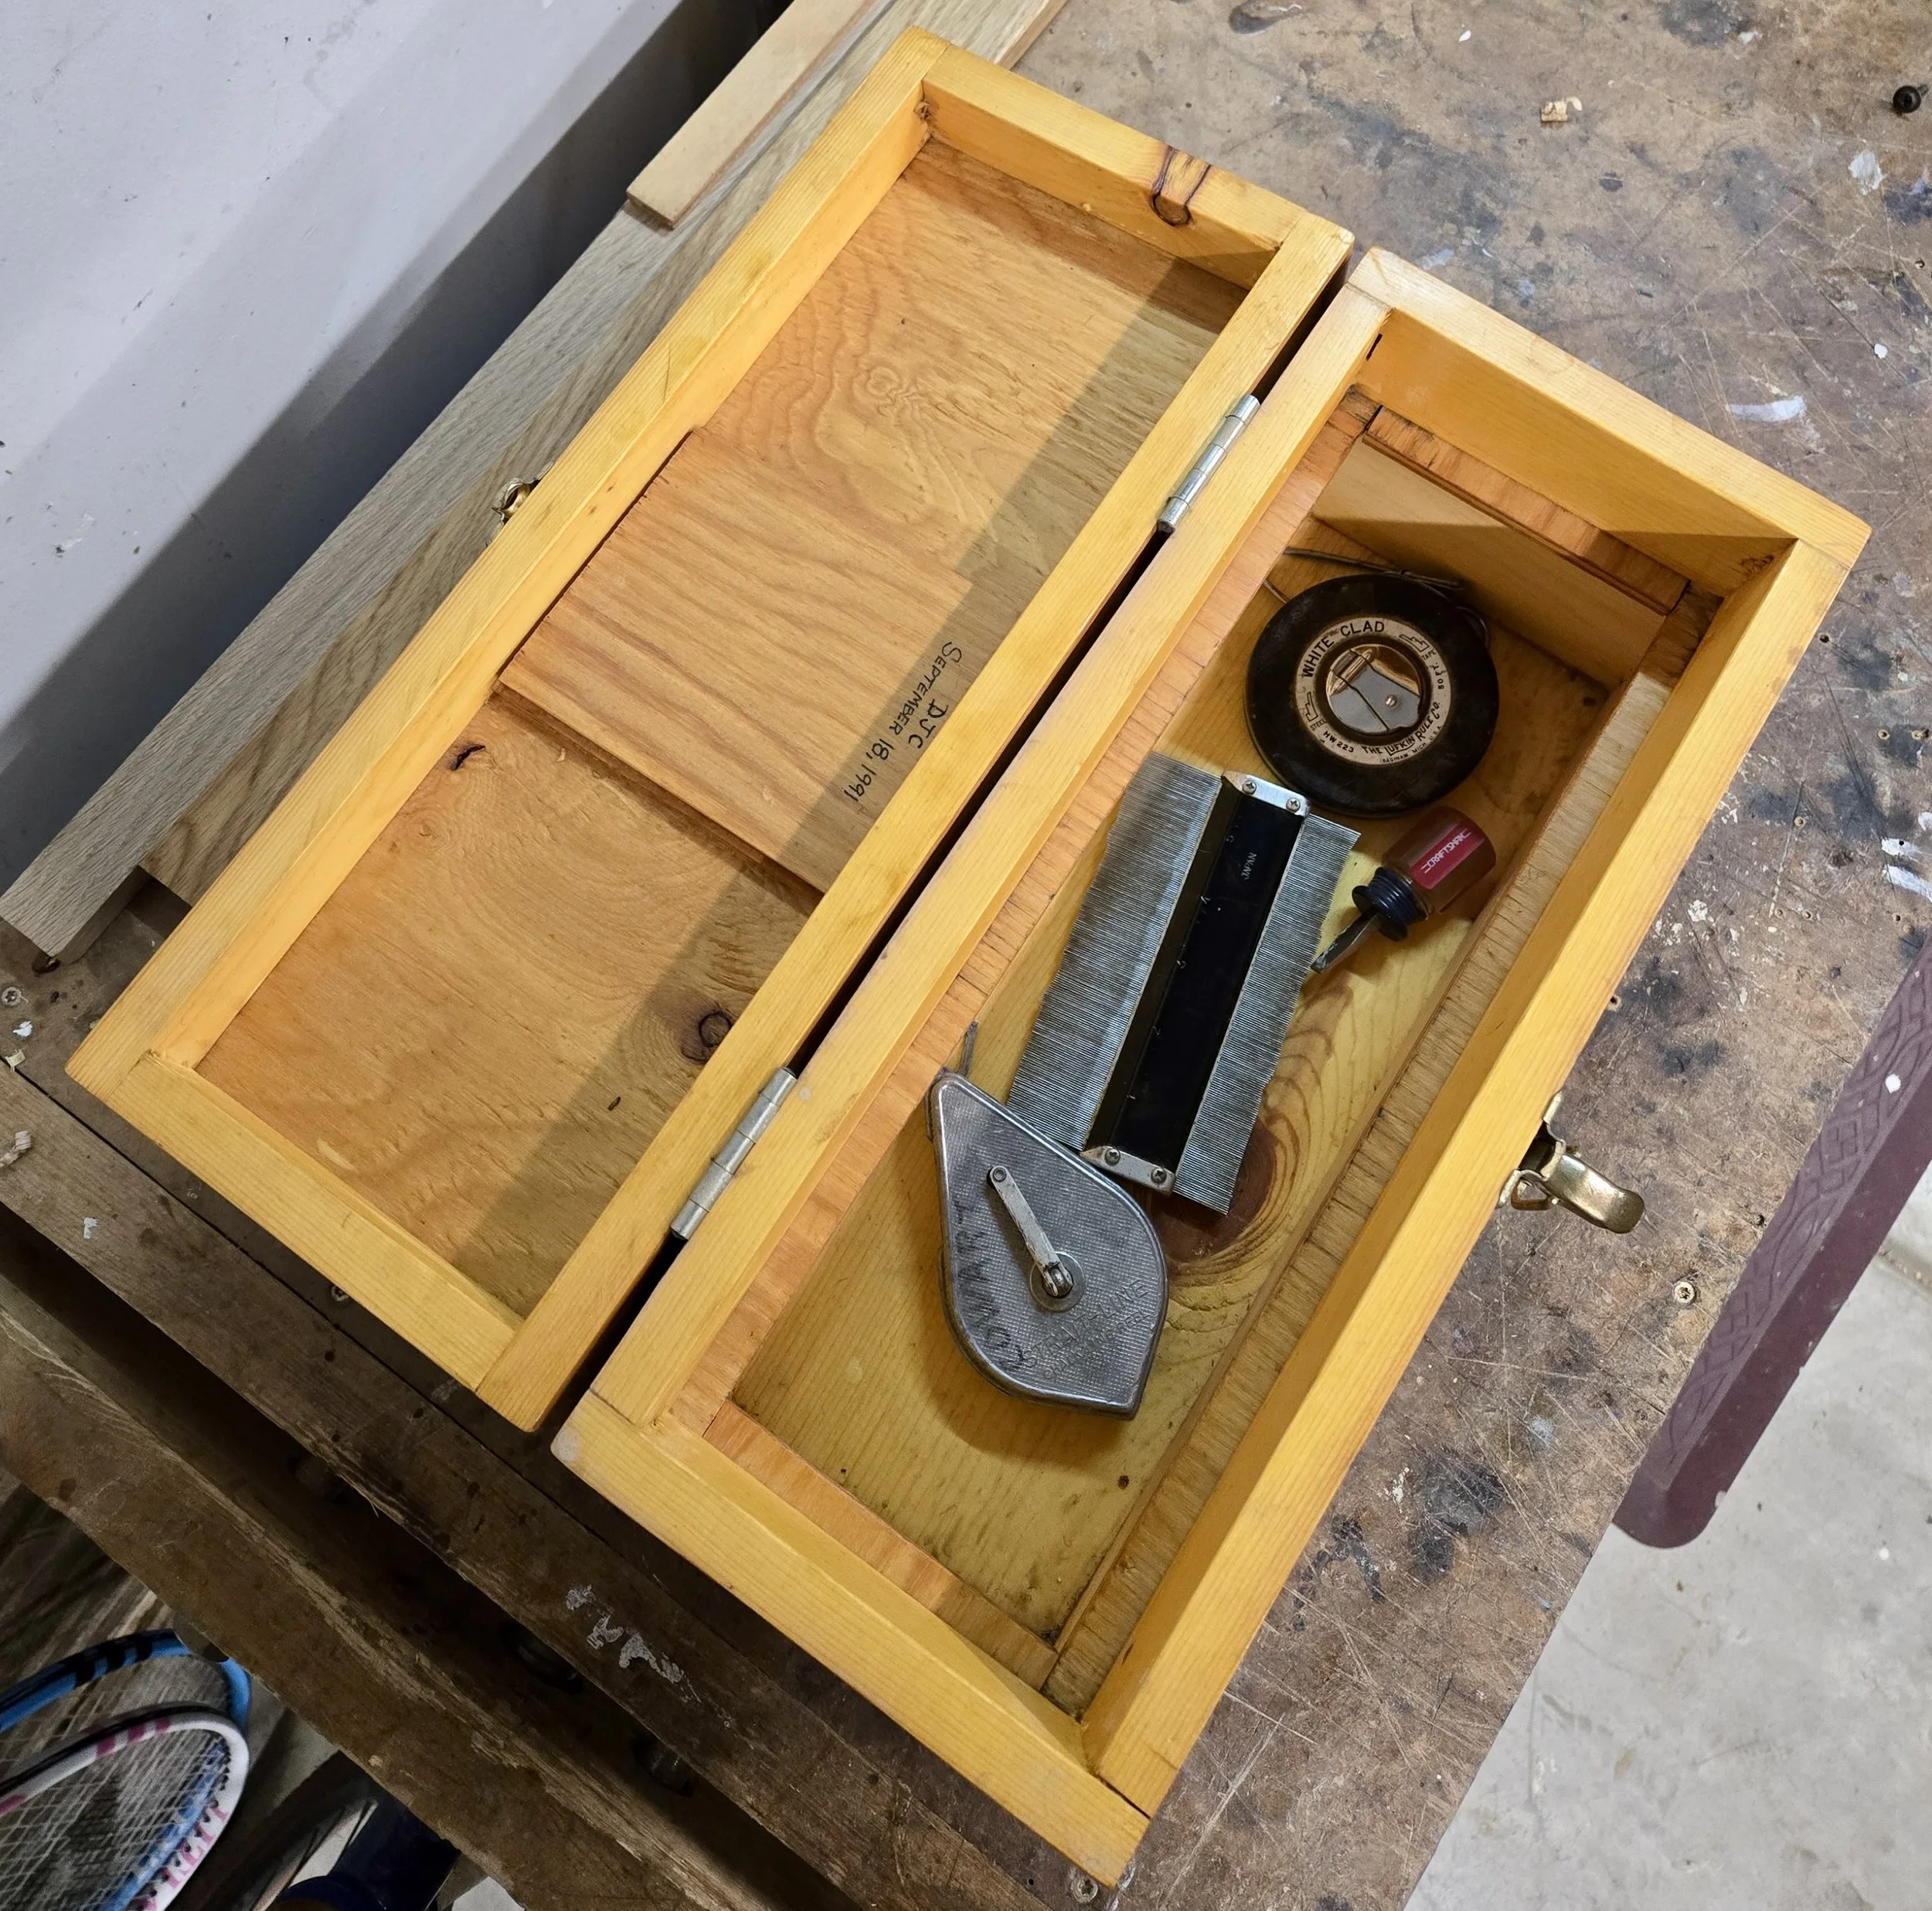
Above is the toolbox Will Cowart (owner of TLD) built with his dad as a kid. He still uses it and it has held up for 35 years!By Chris Black
I am fascinated by portable, craft made wooden toolboxes. Each one custom made to fit a set of tools; some universal and others specific to a given woodworking trade. A finish carpenter’s kit may look different from that of a wooden boat builder’s, but both probably include a square, some chisels and a block plane. With all the variations, there seems to be four basic types of these toolboxes with each of them  telling the story of the owner and the work they did.

From what I remember from the late 1980’s, here’s the list of tools I was required to have as a carpenter’s helper/apprentice:
-tool belt with hammer loop and nail bag
-claw hammer
-25’ tape measure
-square
-chalk box
-utility knife
-3 nail sets/punches
-wood chisel
-cat’s paw/nail puller
-pencils
After each paycheck, I would add an additional tool; perhaps a flat bar or another chisel size. After a few weeks, the tool belt was overflowing so it was off to the drywall finishers to acquire an empty mud bucket to store my less frequently used tools. I was content with the tool bucket until I got more experience and was told it was time to get a real toolbox. Apparently, carpenters don’t store their tools in buckets. Who knew? Open Tote Carpenter’s Toolbox
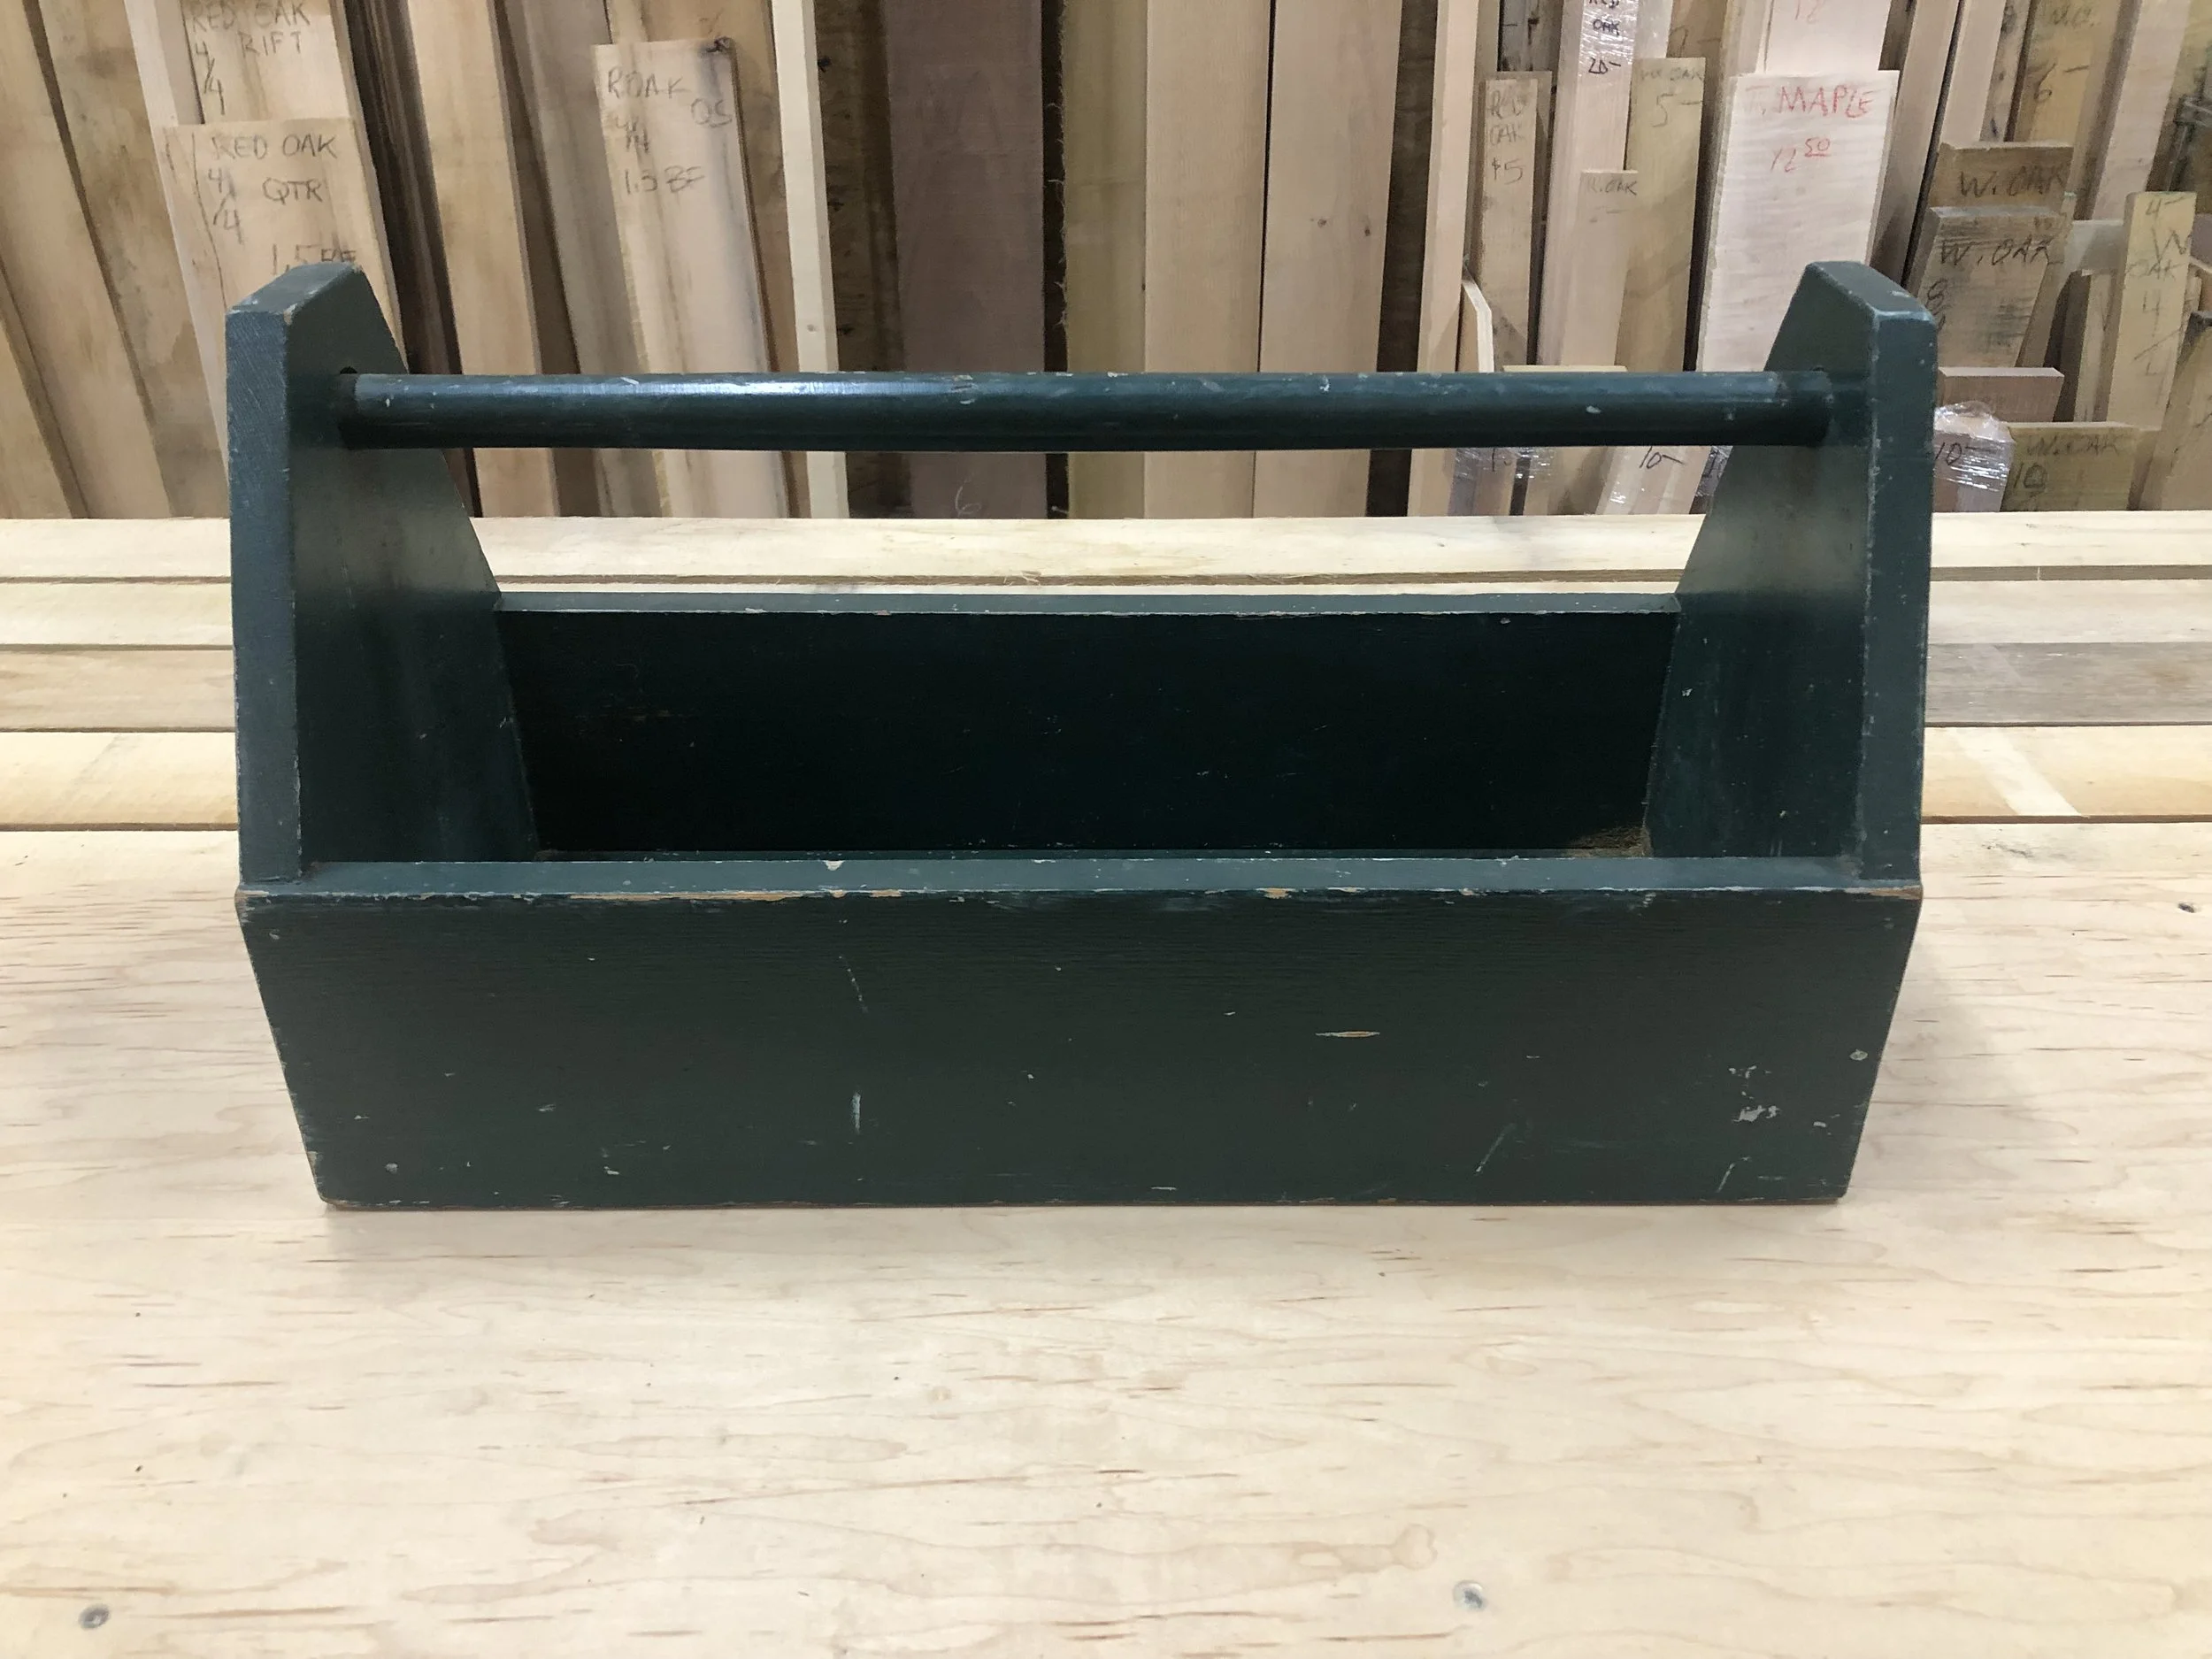
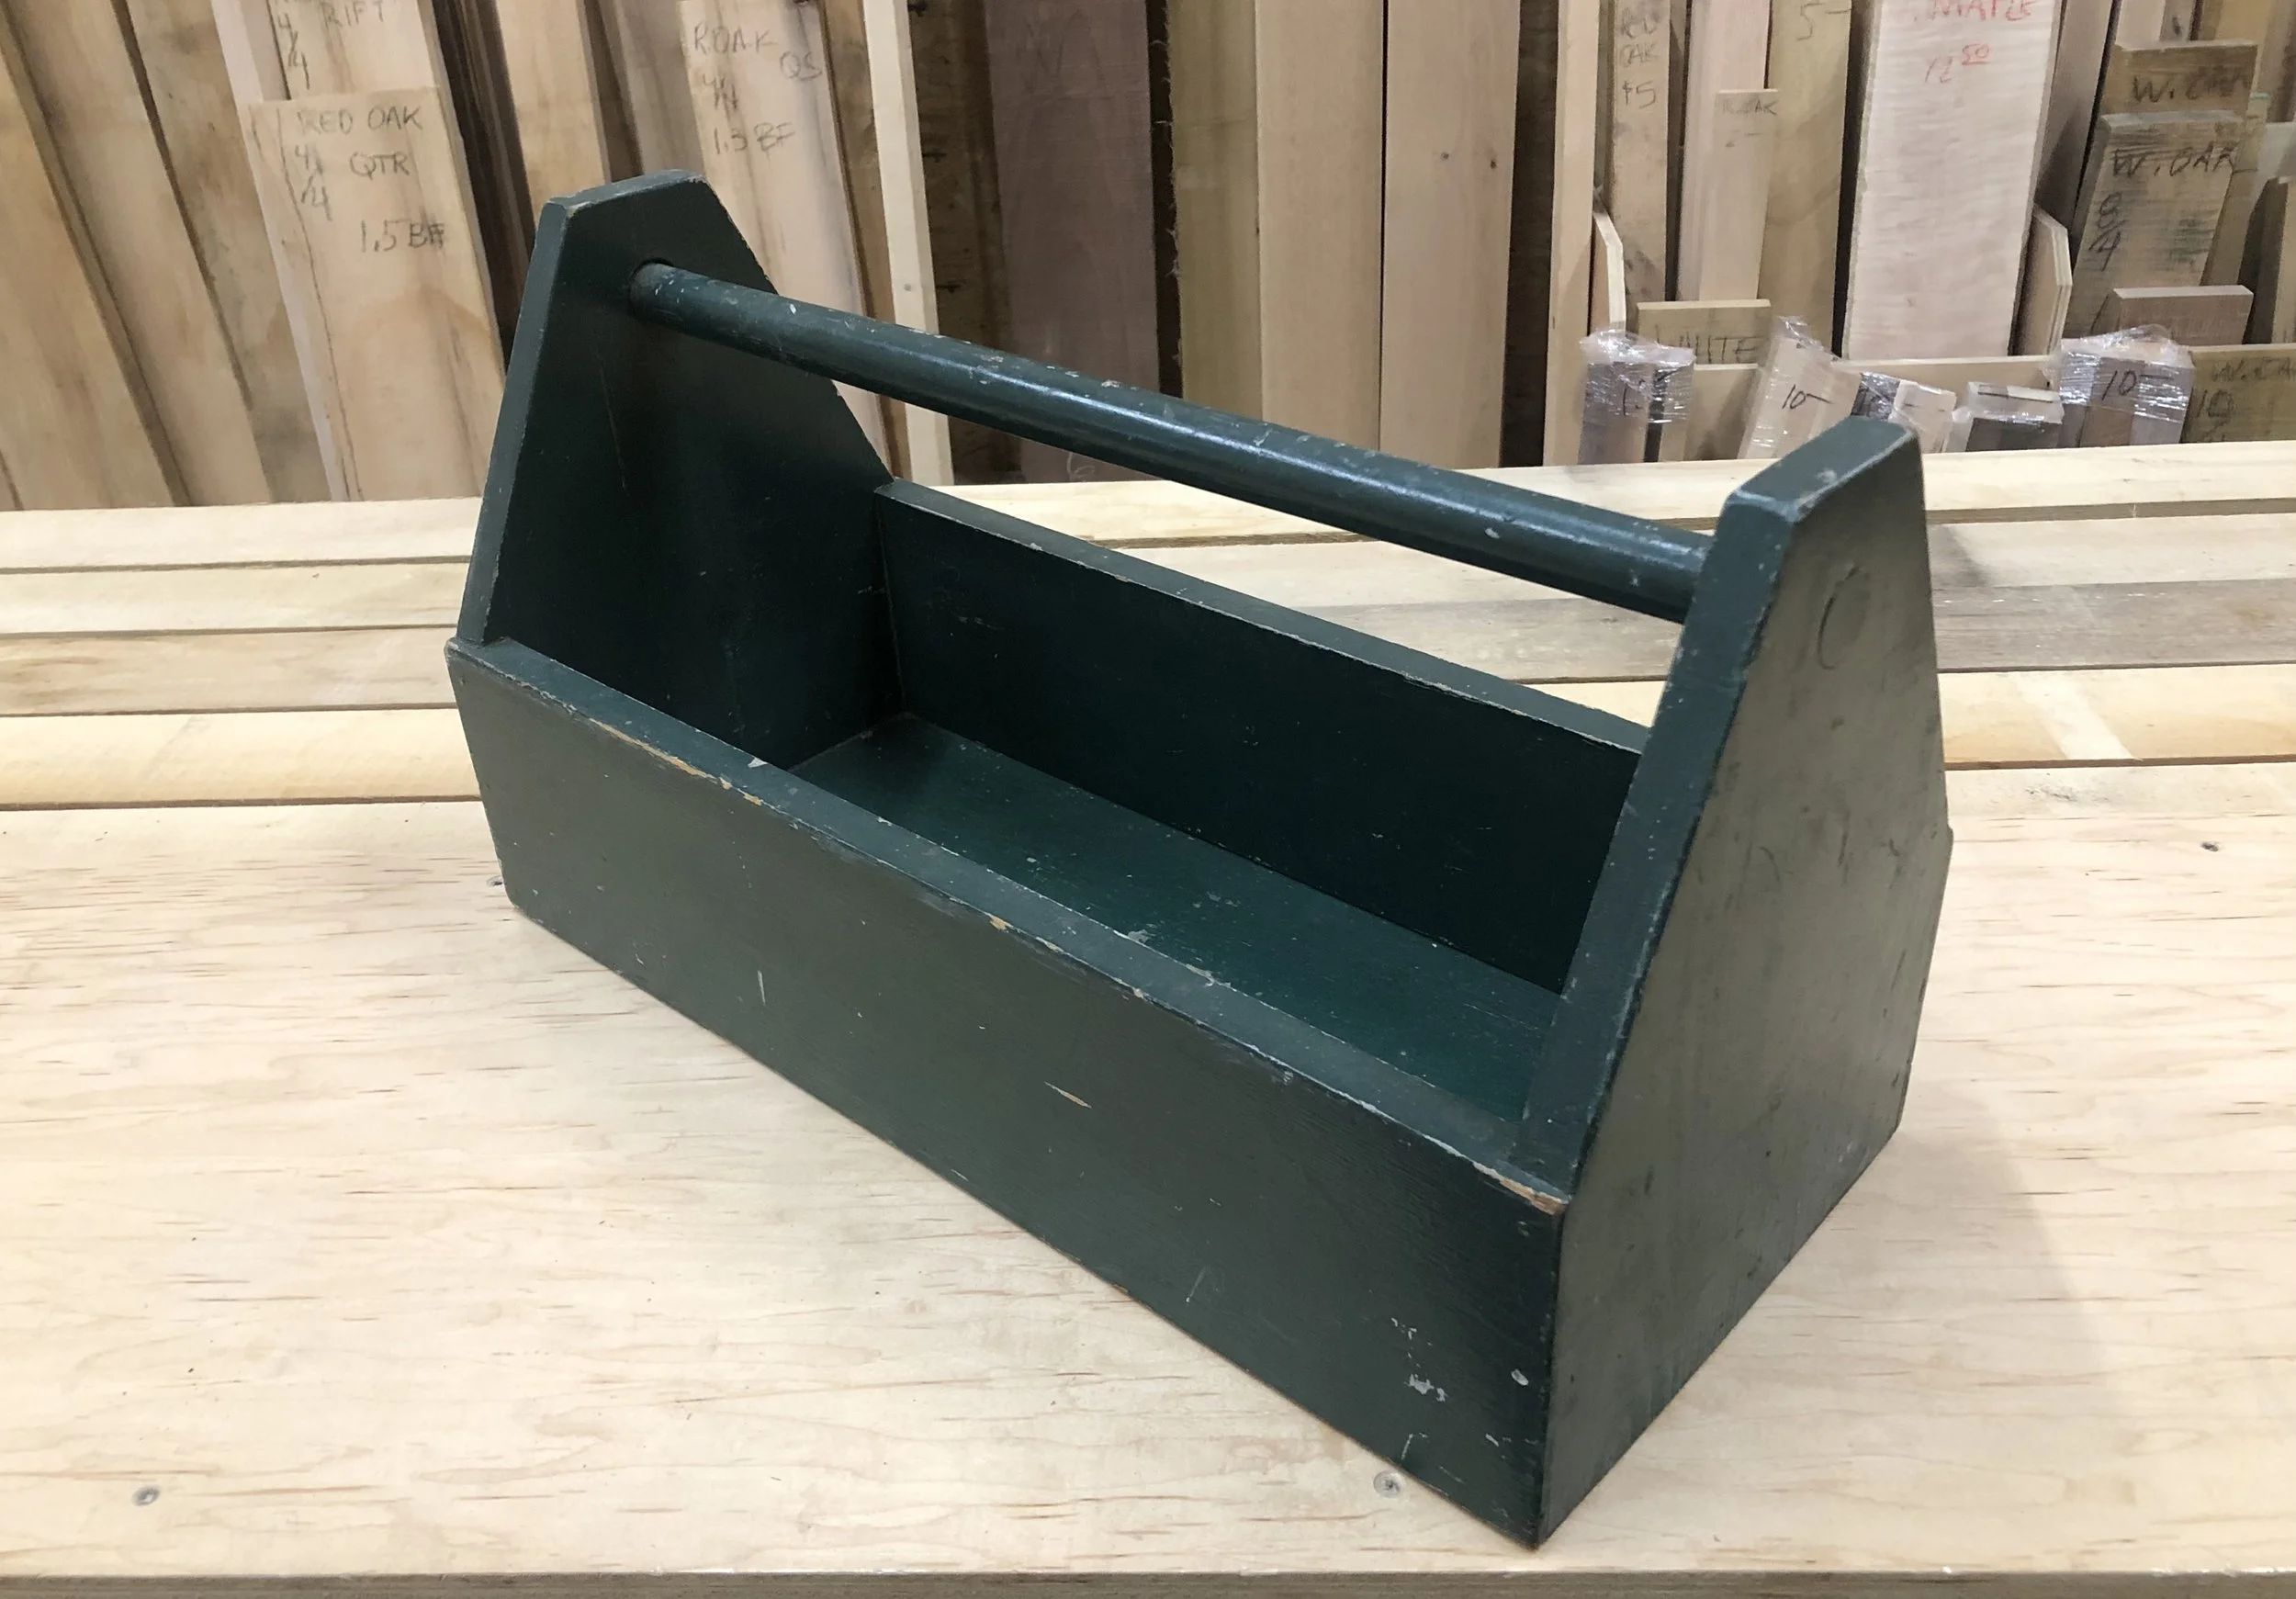
So with my new found skills, some scrap 1x pine stock and a 1” dowel rod from the hardware store, I proceeded to construct a typical open tote carpenters toolbox. It even had slots for various tools like chisels, screwdrivers, etc. The organization was much better than the bucket. No more digging around to find a tool because most tools had a designated place. It was easy to spot the tool I needed and grab it. Pretty soon I found out it was easy for the other trades to “borrow” the tools they needed as well. It became obvious that I needed a toolbox that could be secured and even locked up if needed. So I went to Sears to buy a steel carpenter’s toolbox. Oh, it was a glossy red beauty! It featured storage for two full sized hand saws inside the lid, a top tray for frequently needed items and a deep tool well with ample room for larger tools such as a hand plane and a level. It even sported a hasp to thread a padlock through! I was set. With my tools neatly stowed and the thieves defeated, I picked up my bright shiny red tool chest and promptly tore my jeans on a jagged metal protrusion. As a result, I went around the box filing off every sharp corner and offending bend and brake. My jeans were safe and my tools secure. I was content. Well, almost. The tray resisted one handed removal to get to the tools underneath and the steel box was prone to rust. The basic form remained suitable but the tray needed to be divided into two sliding sections and a couple of drawers at the bottom of the box would better organize and separate the chisels from the layout tools. They tend to fight. Treasure Chest Toolbox
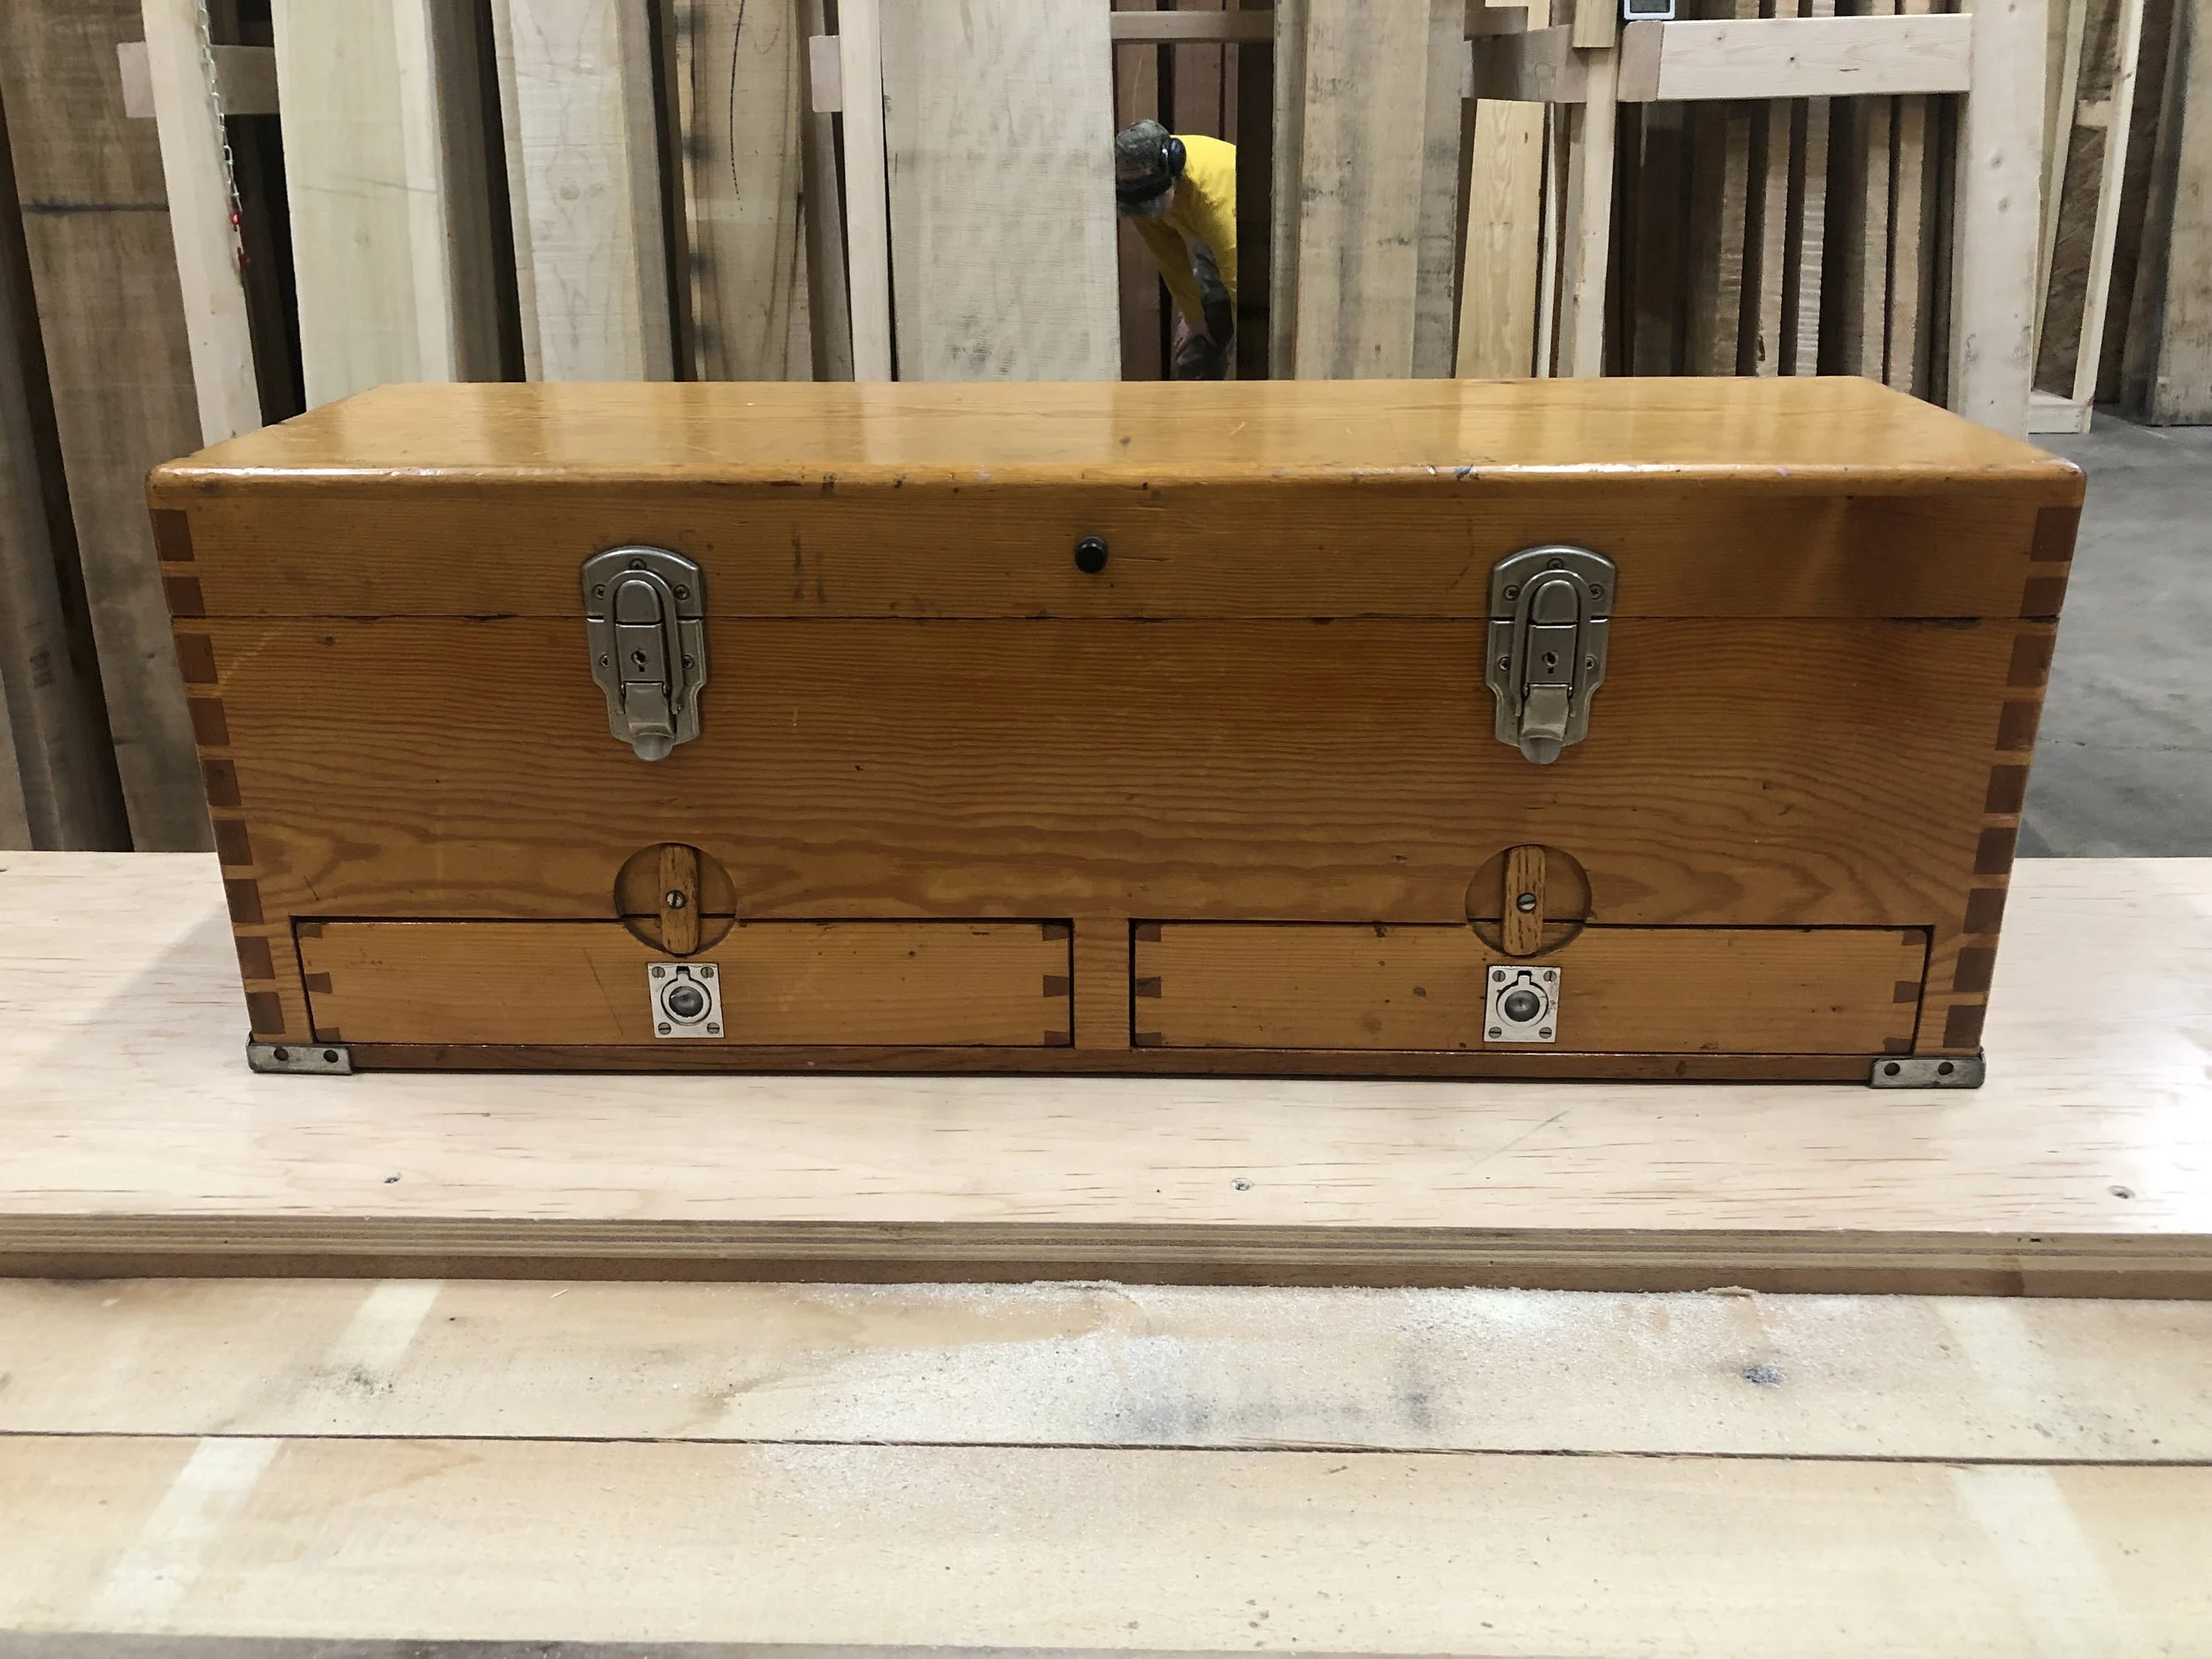
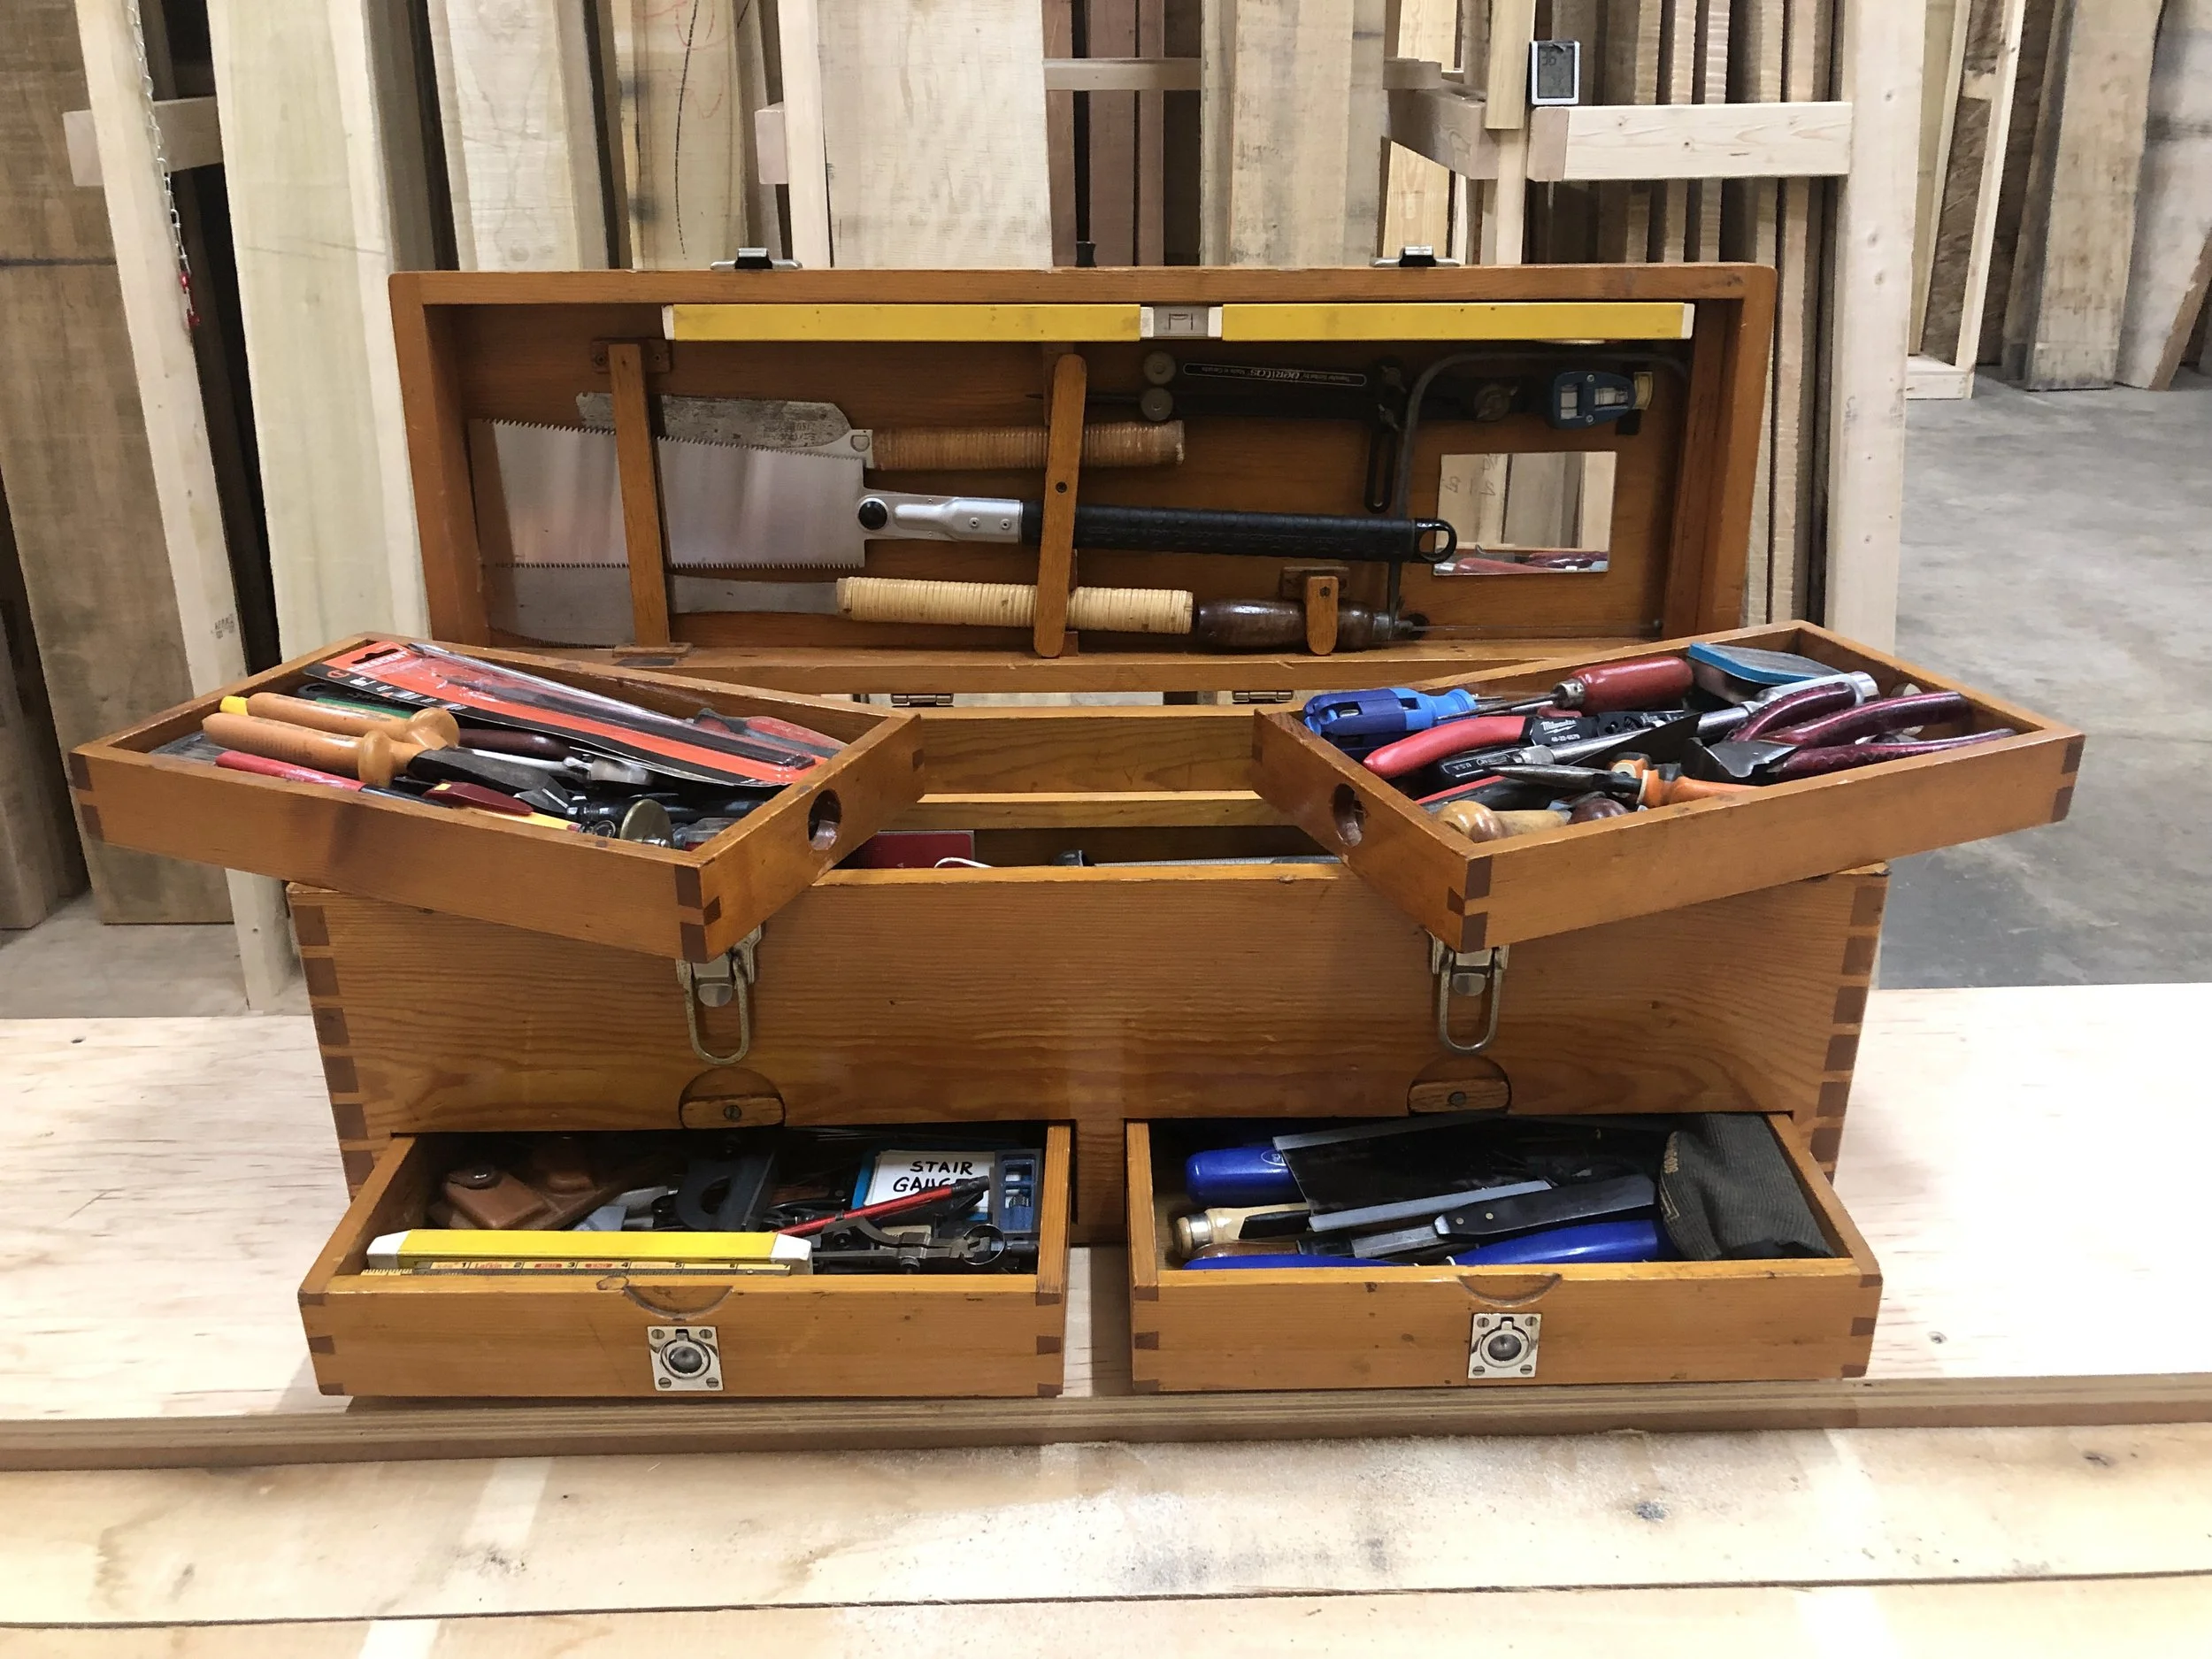
Using the Sears toolbox as a model, I designed a wooden chest to fix the deficiencies. The saws nested in the lid along with a 2’ level. The two sliding tray/drawers stored frequently used hand tools while the main till still kept a wooden mallet, pry bar, 100’ tape and other implements of construction. The two drawers under the main till ensured easy access to planes, chisels and squares. I had just purchased a Keller dovetail router jig to start a production run of dresser boxes and thought dovetailing the toolbox would be a good first project to familiarize myself with the jig. The case turned out perfectly but after I glued up the drawers, I realized I got the orientation of the pins and tails reversed. I decided to leave it that way as a reminder not to get in a rush and to mind the details. I still use the box to this day.The Suitcase Toolbox
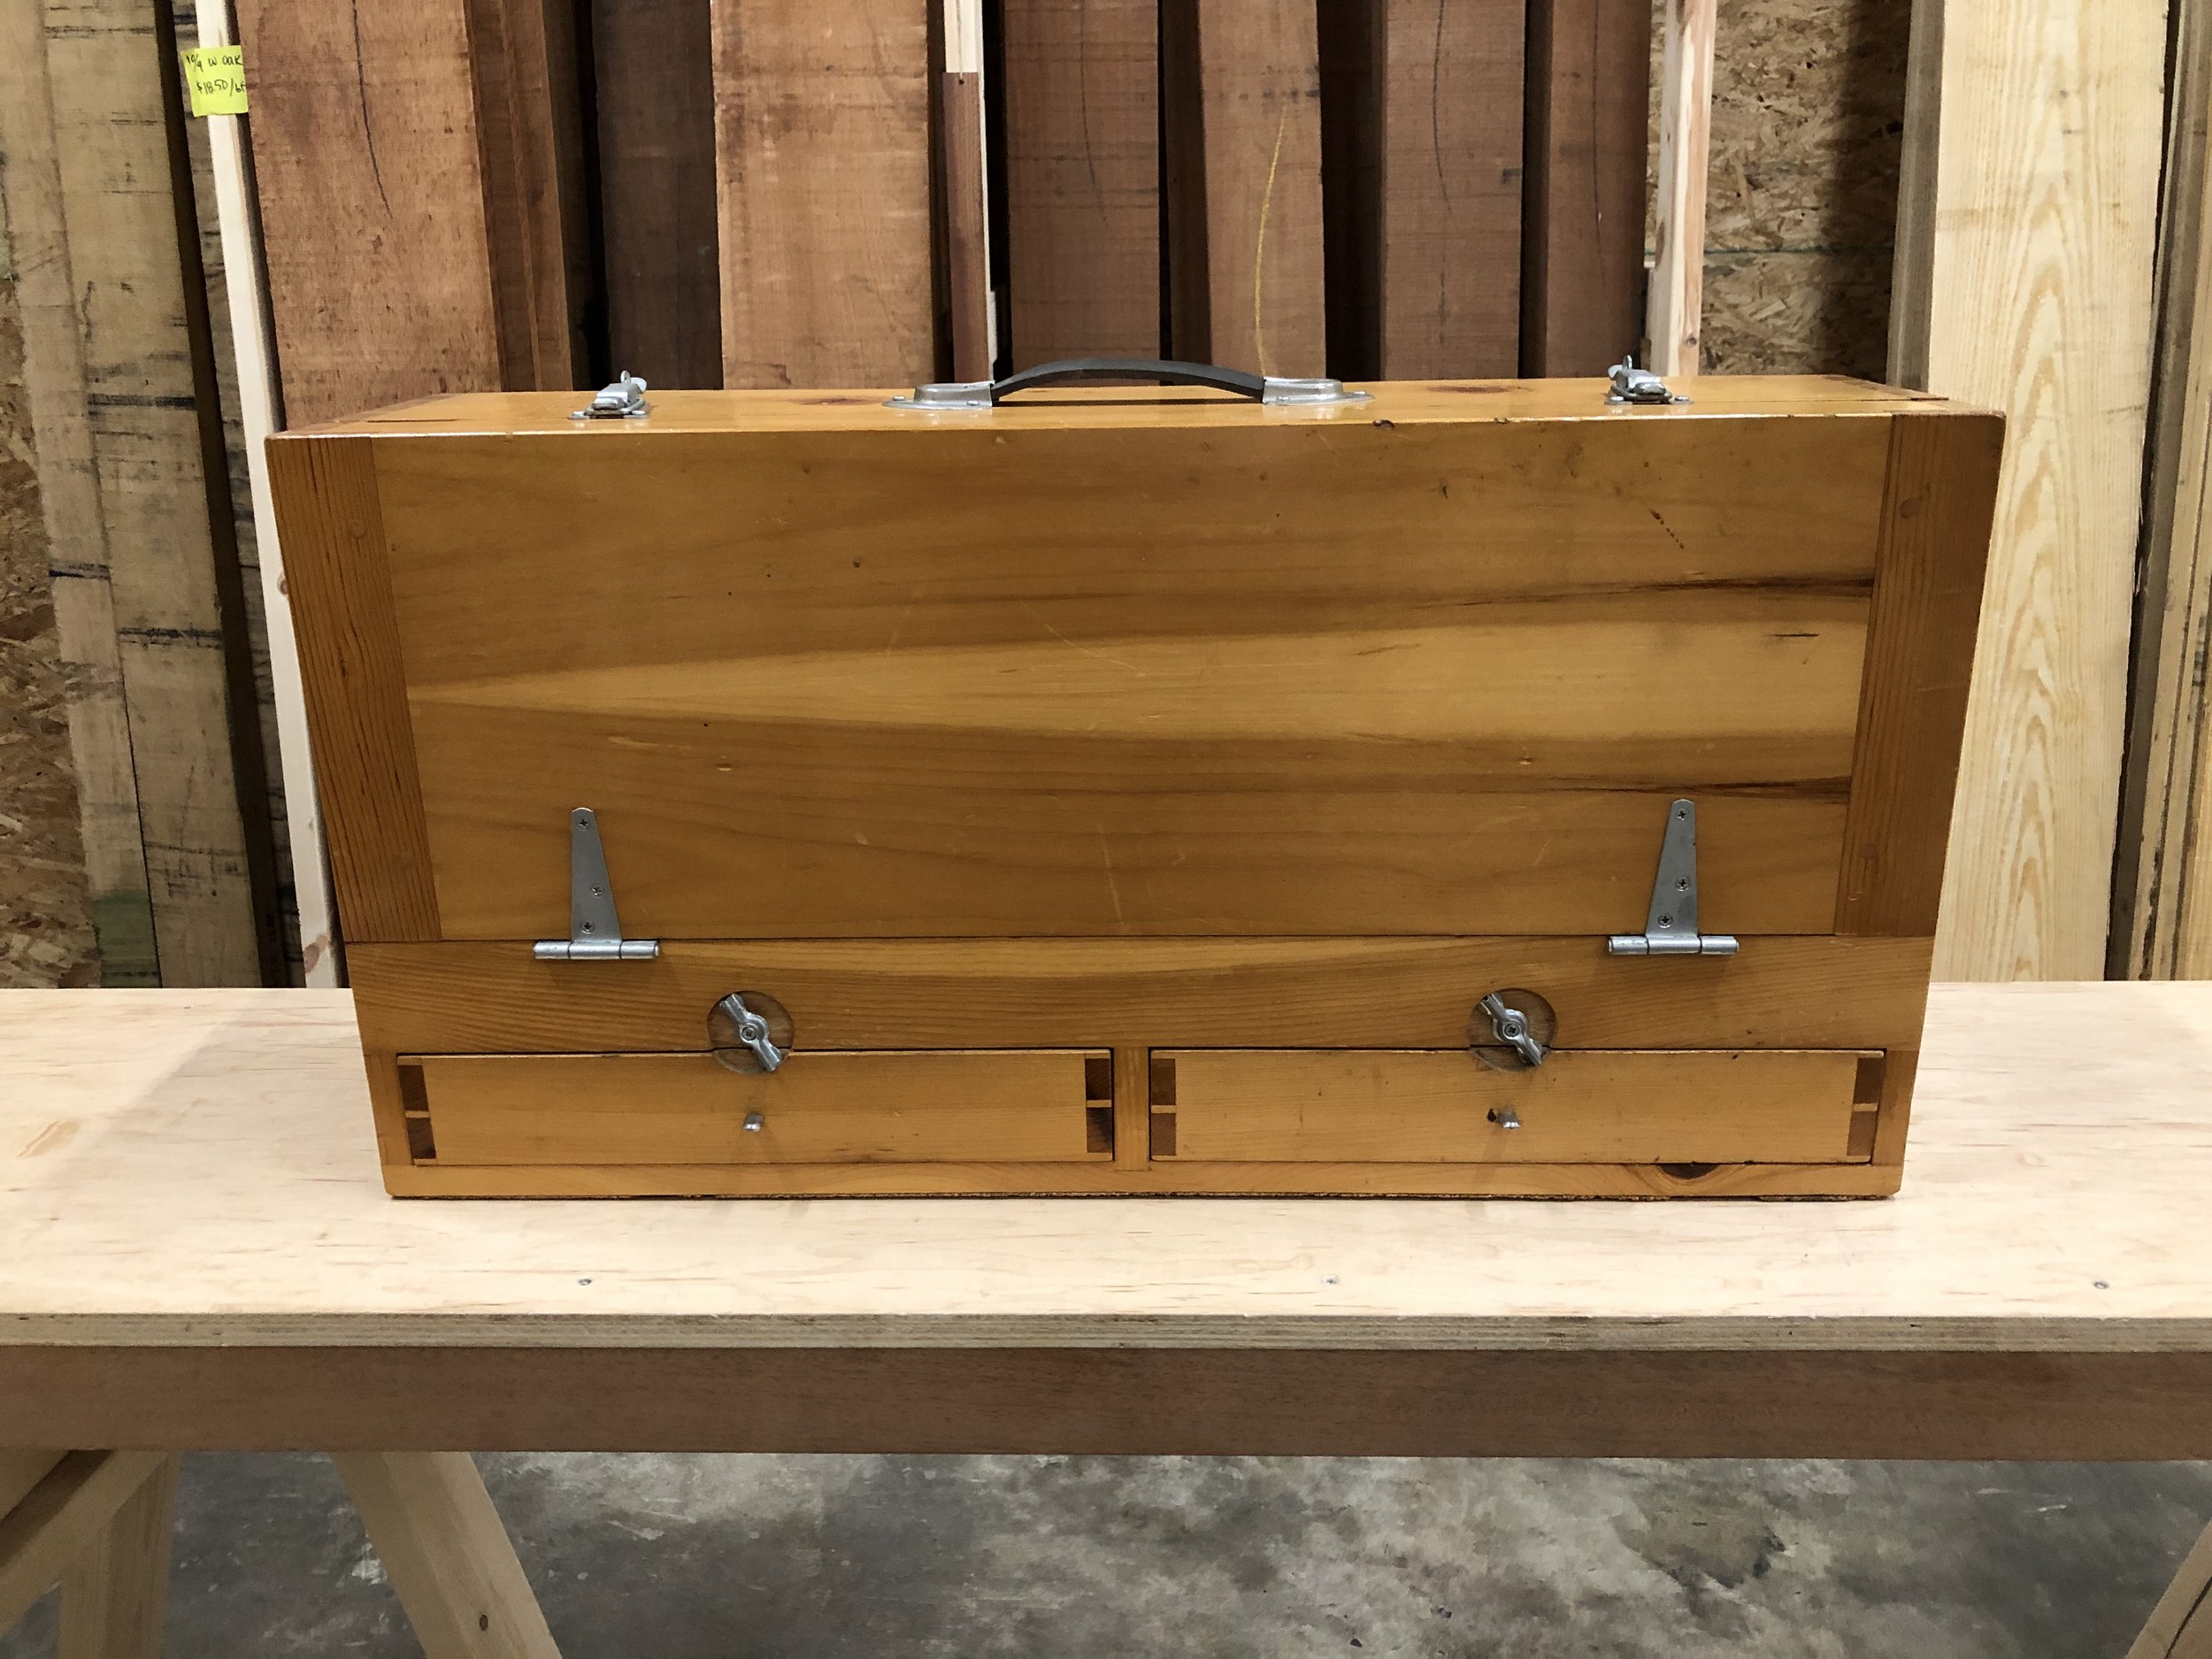
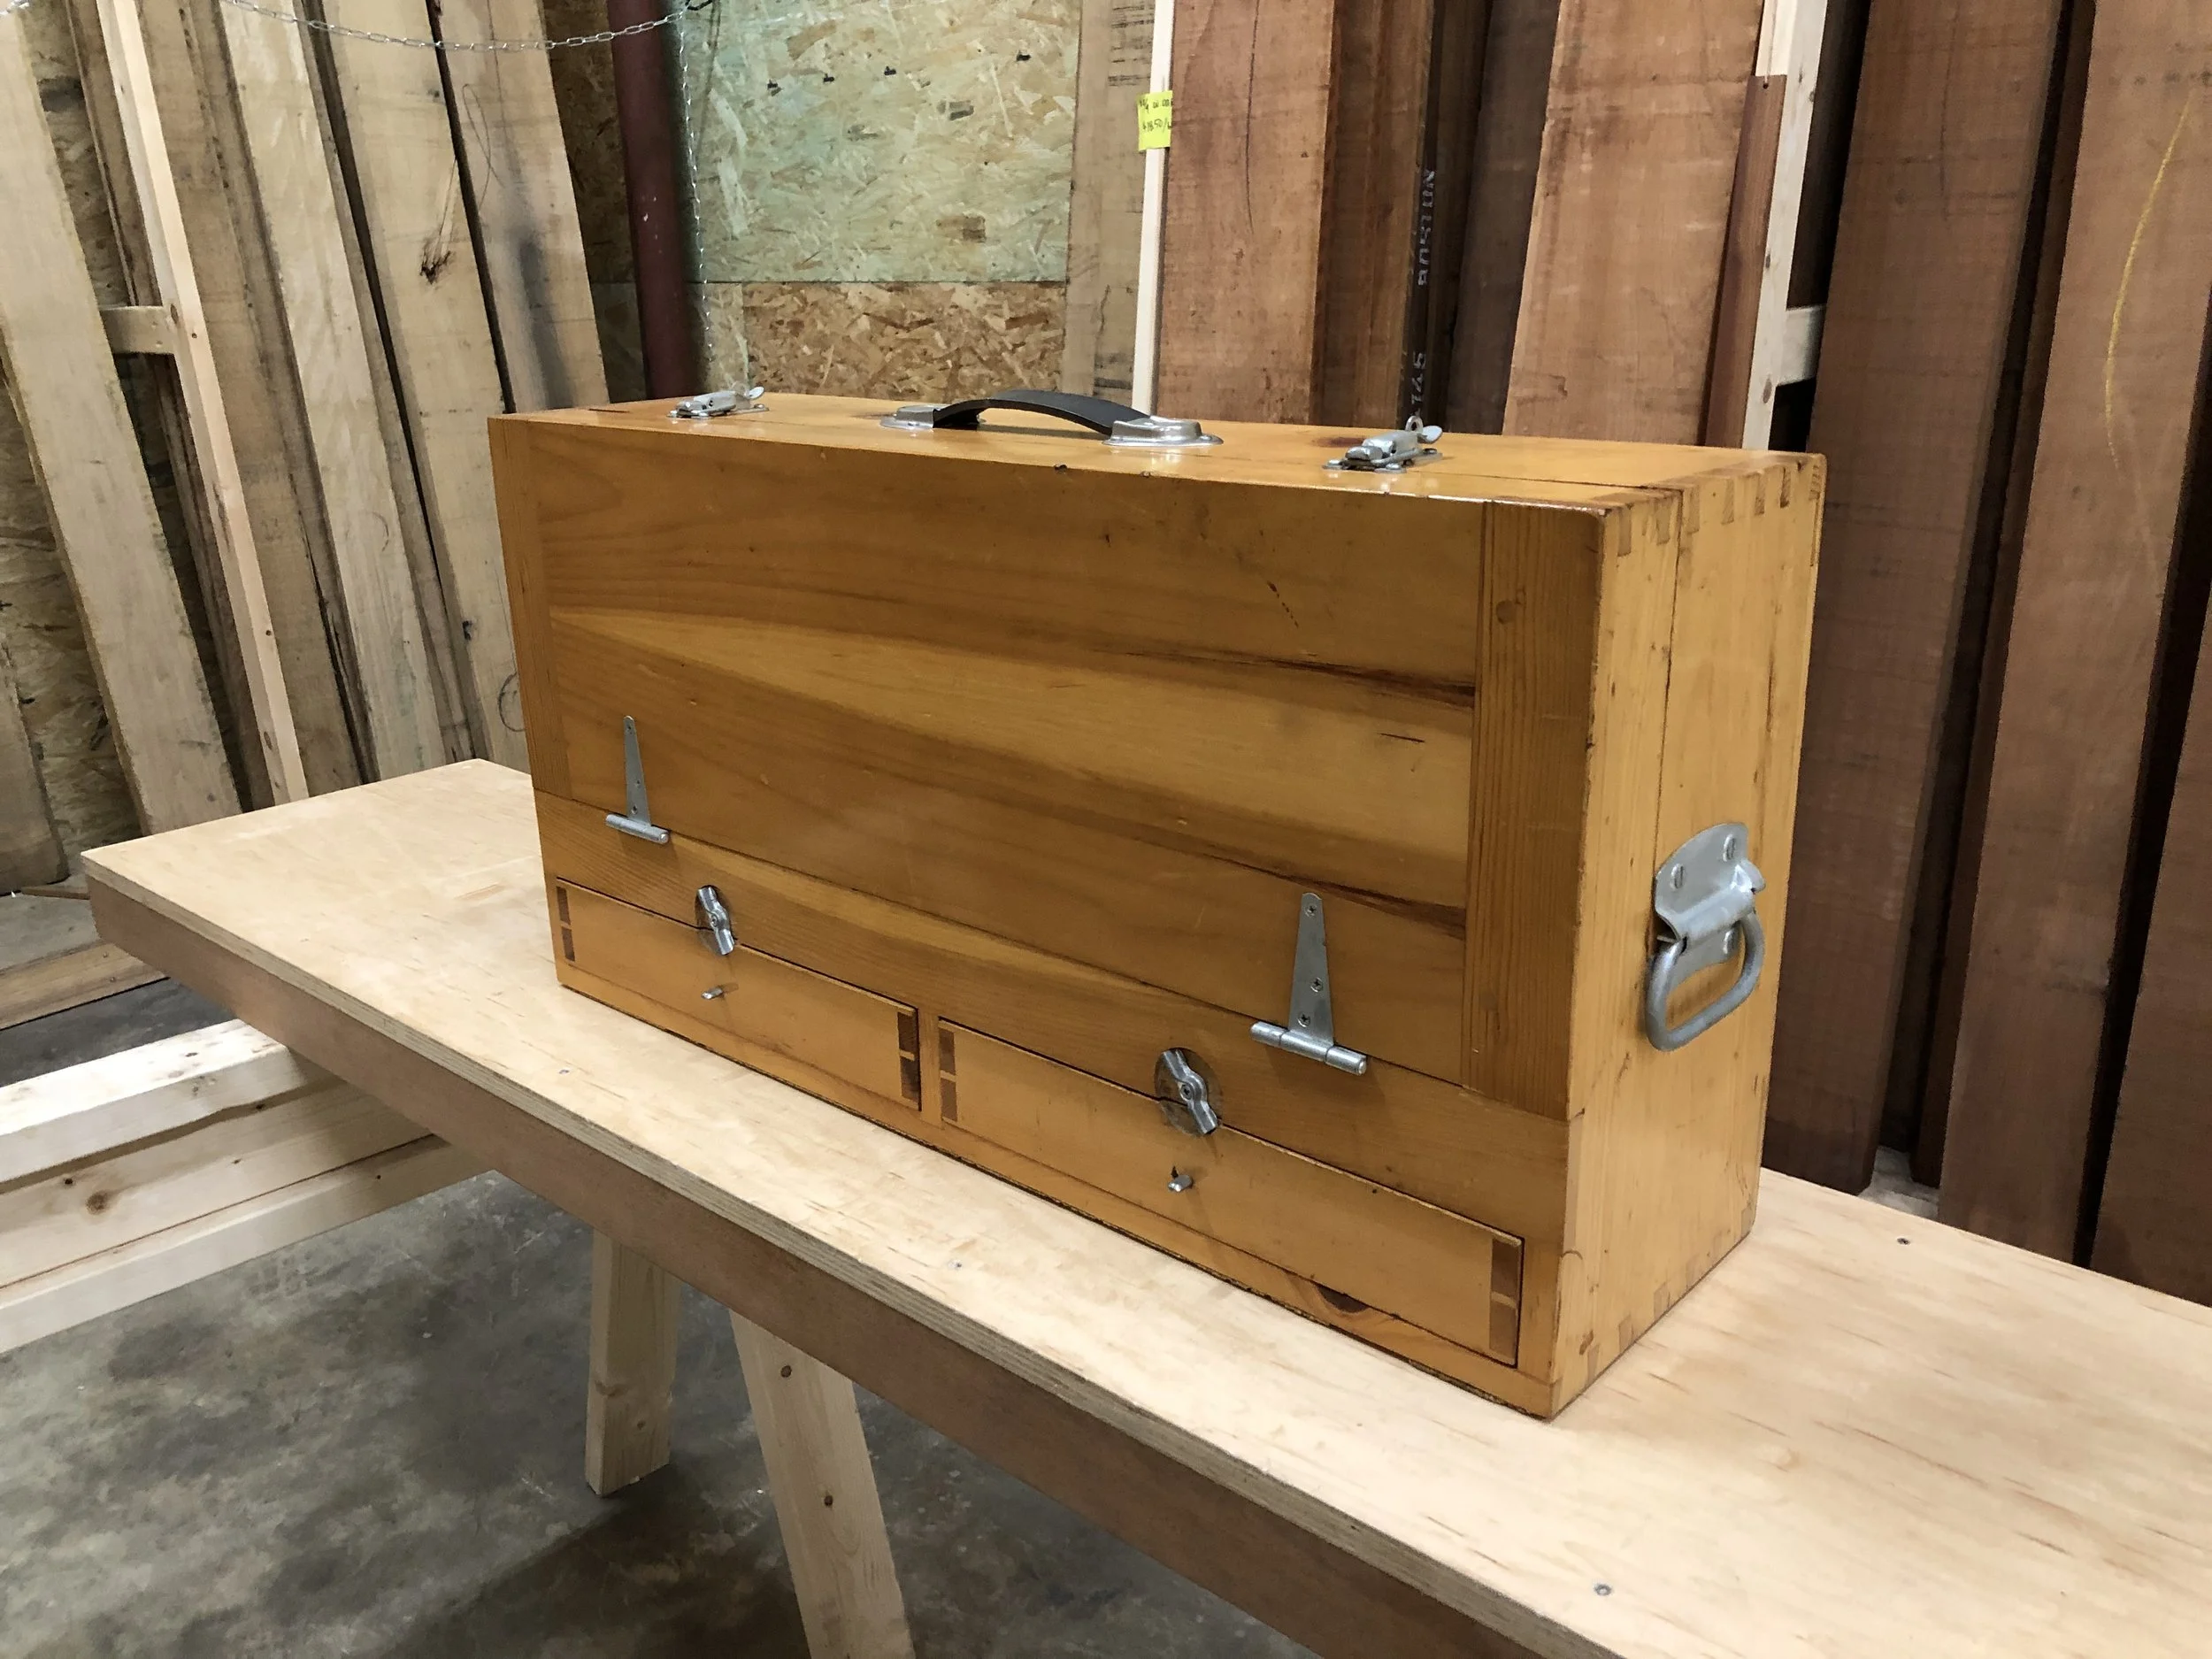
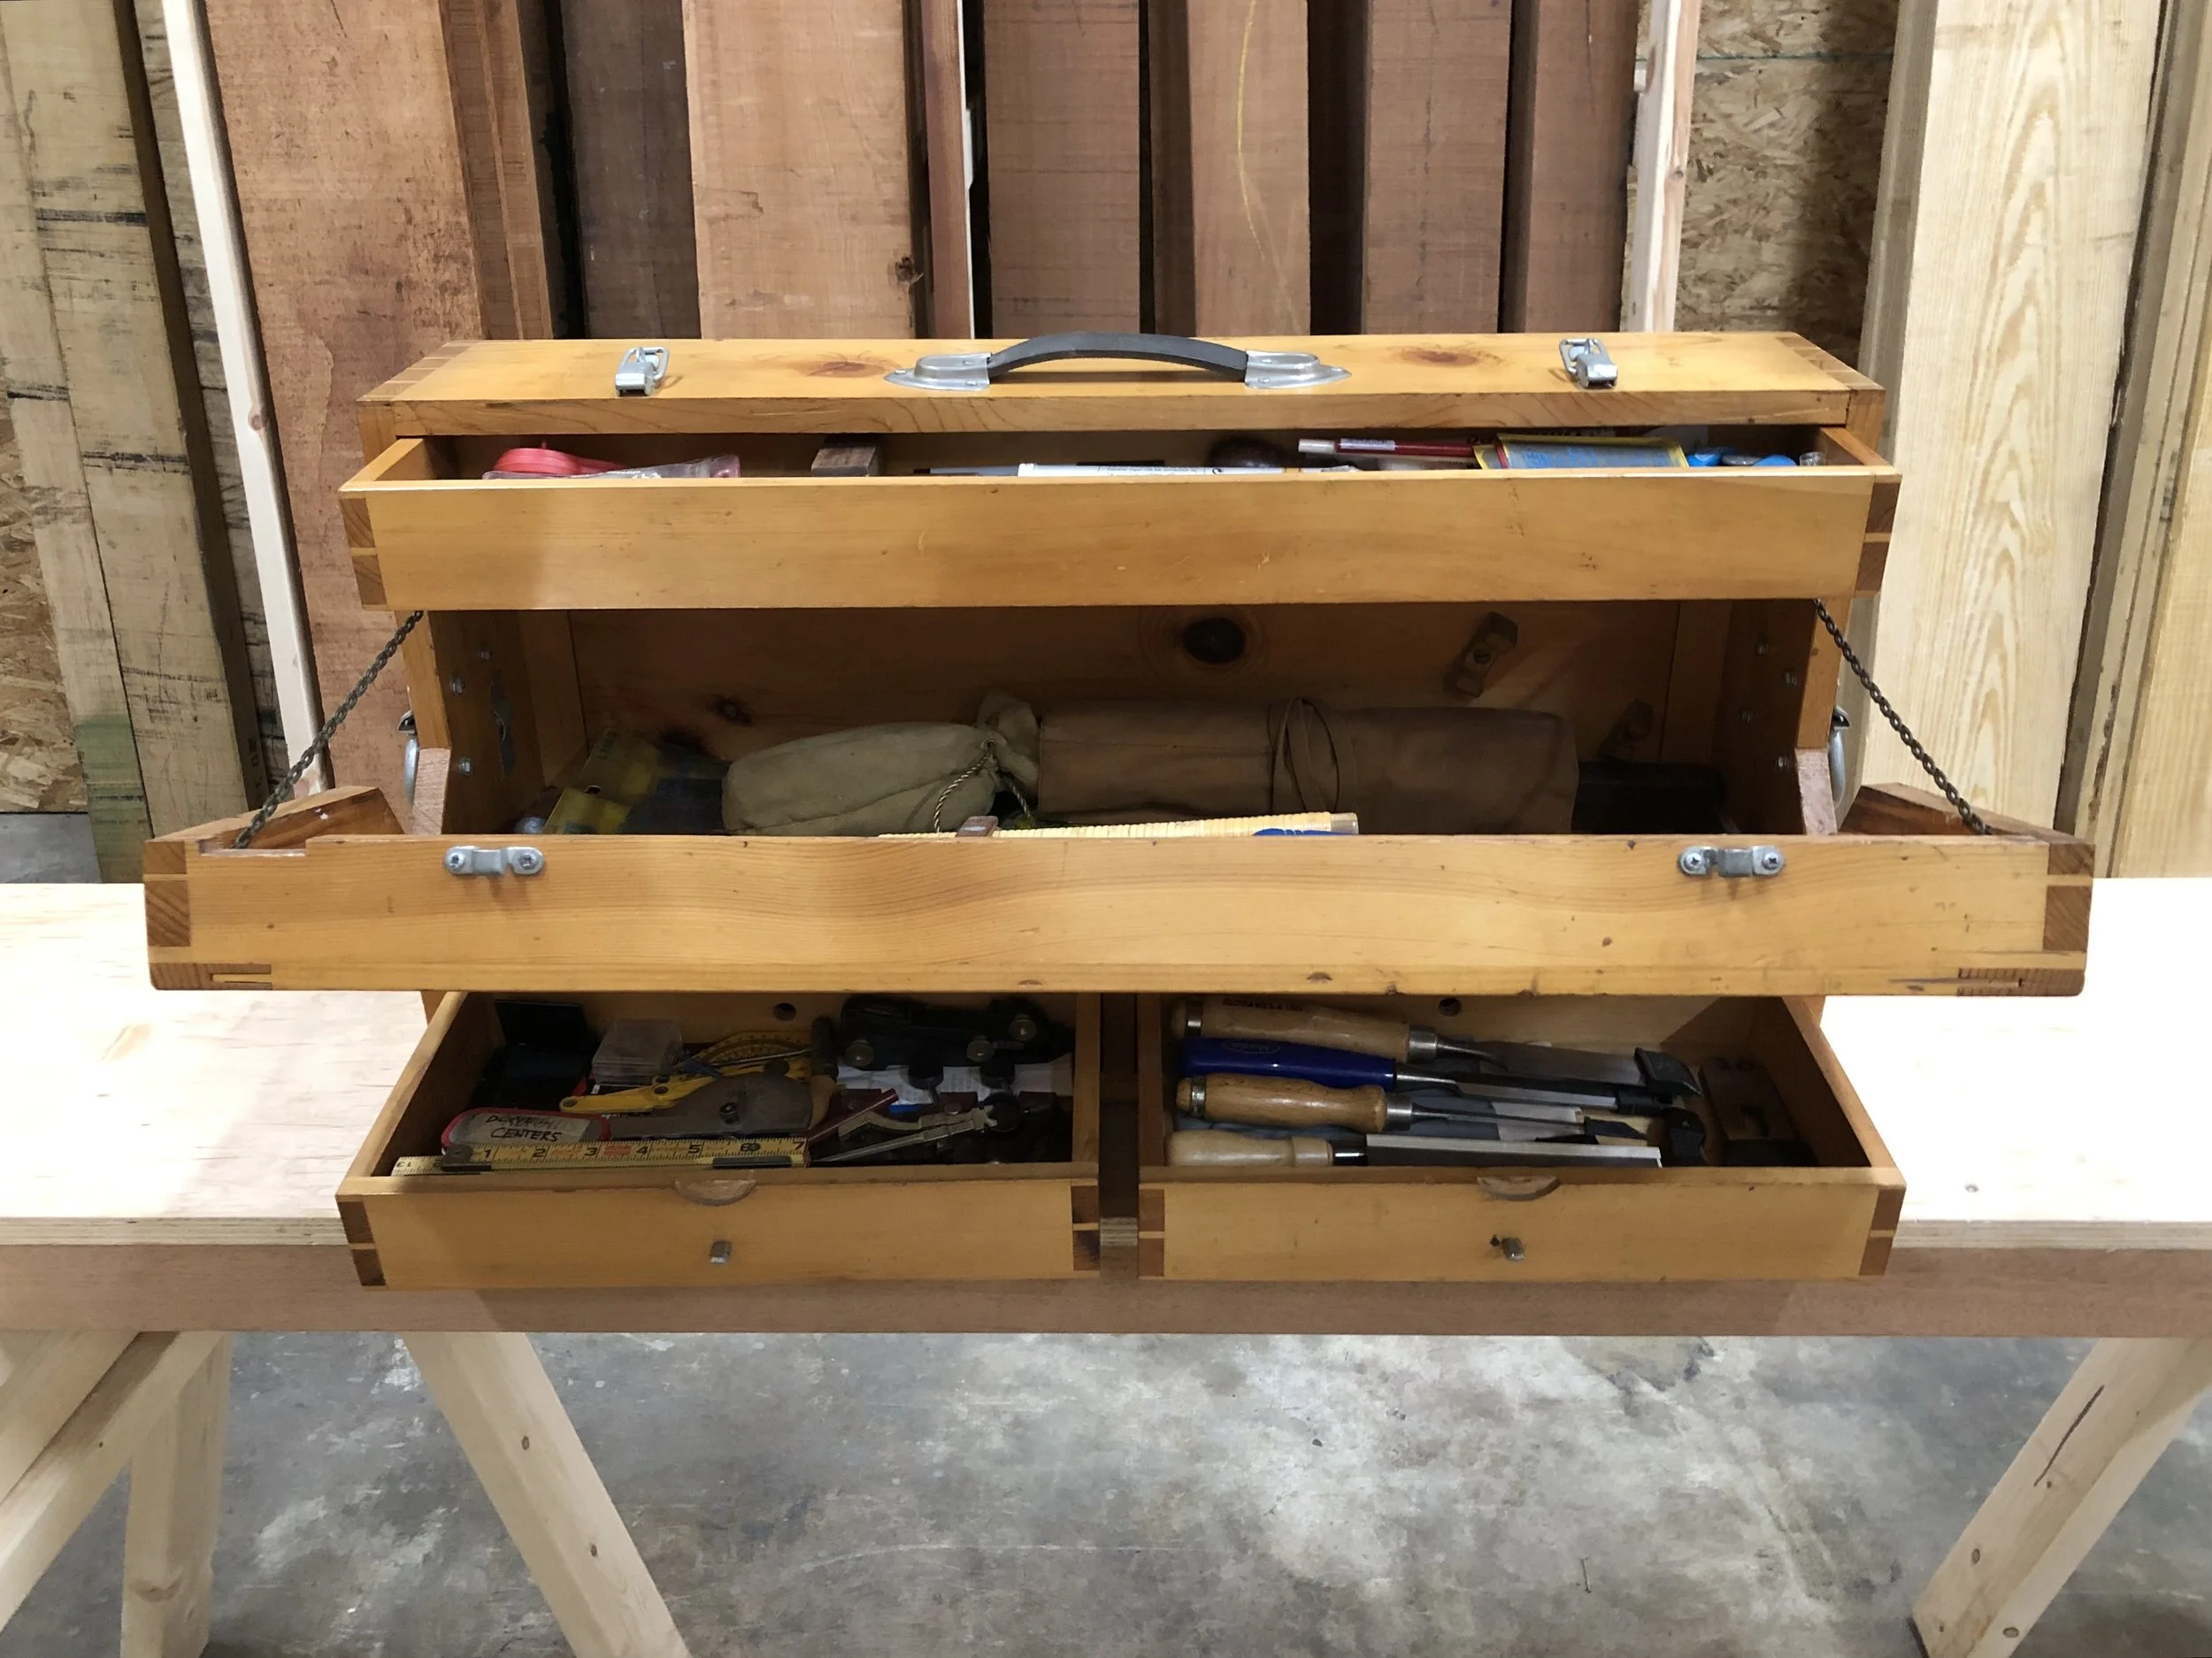
The main difference between a treasure chest and suitcase toolbox is that the suitcase lid folds down in front of the case exposing the main storage till while the treasure chest top opens back. This requires you to remove at least one tray to get to your tools in the till. Typically when you open the lid of a suitcase toolbox you’ll find a drawer at the top of the opening. The advantage of the suitcase toolbox is the large open bay makes it easier to find tools but it’s not a super efficient use of vertical space. This example has two external drawers at the bottom of the case to organize tools you don’t want bouncing around in the main bay. Japanese Style Sliding Lid Toolbox
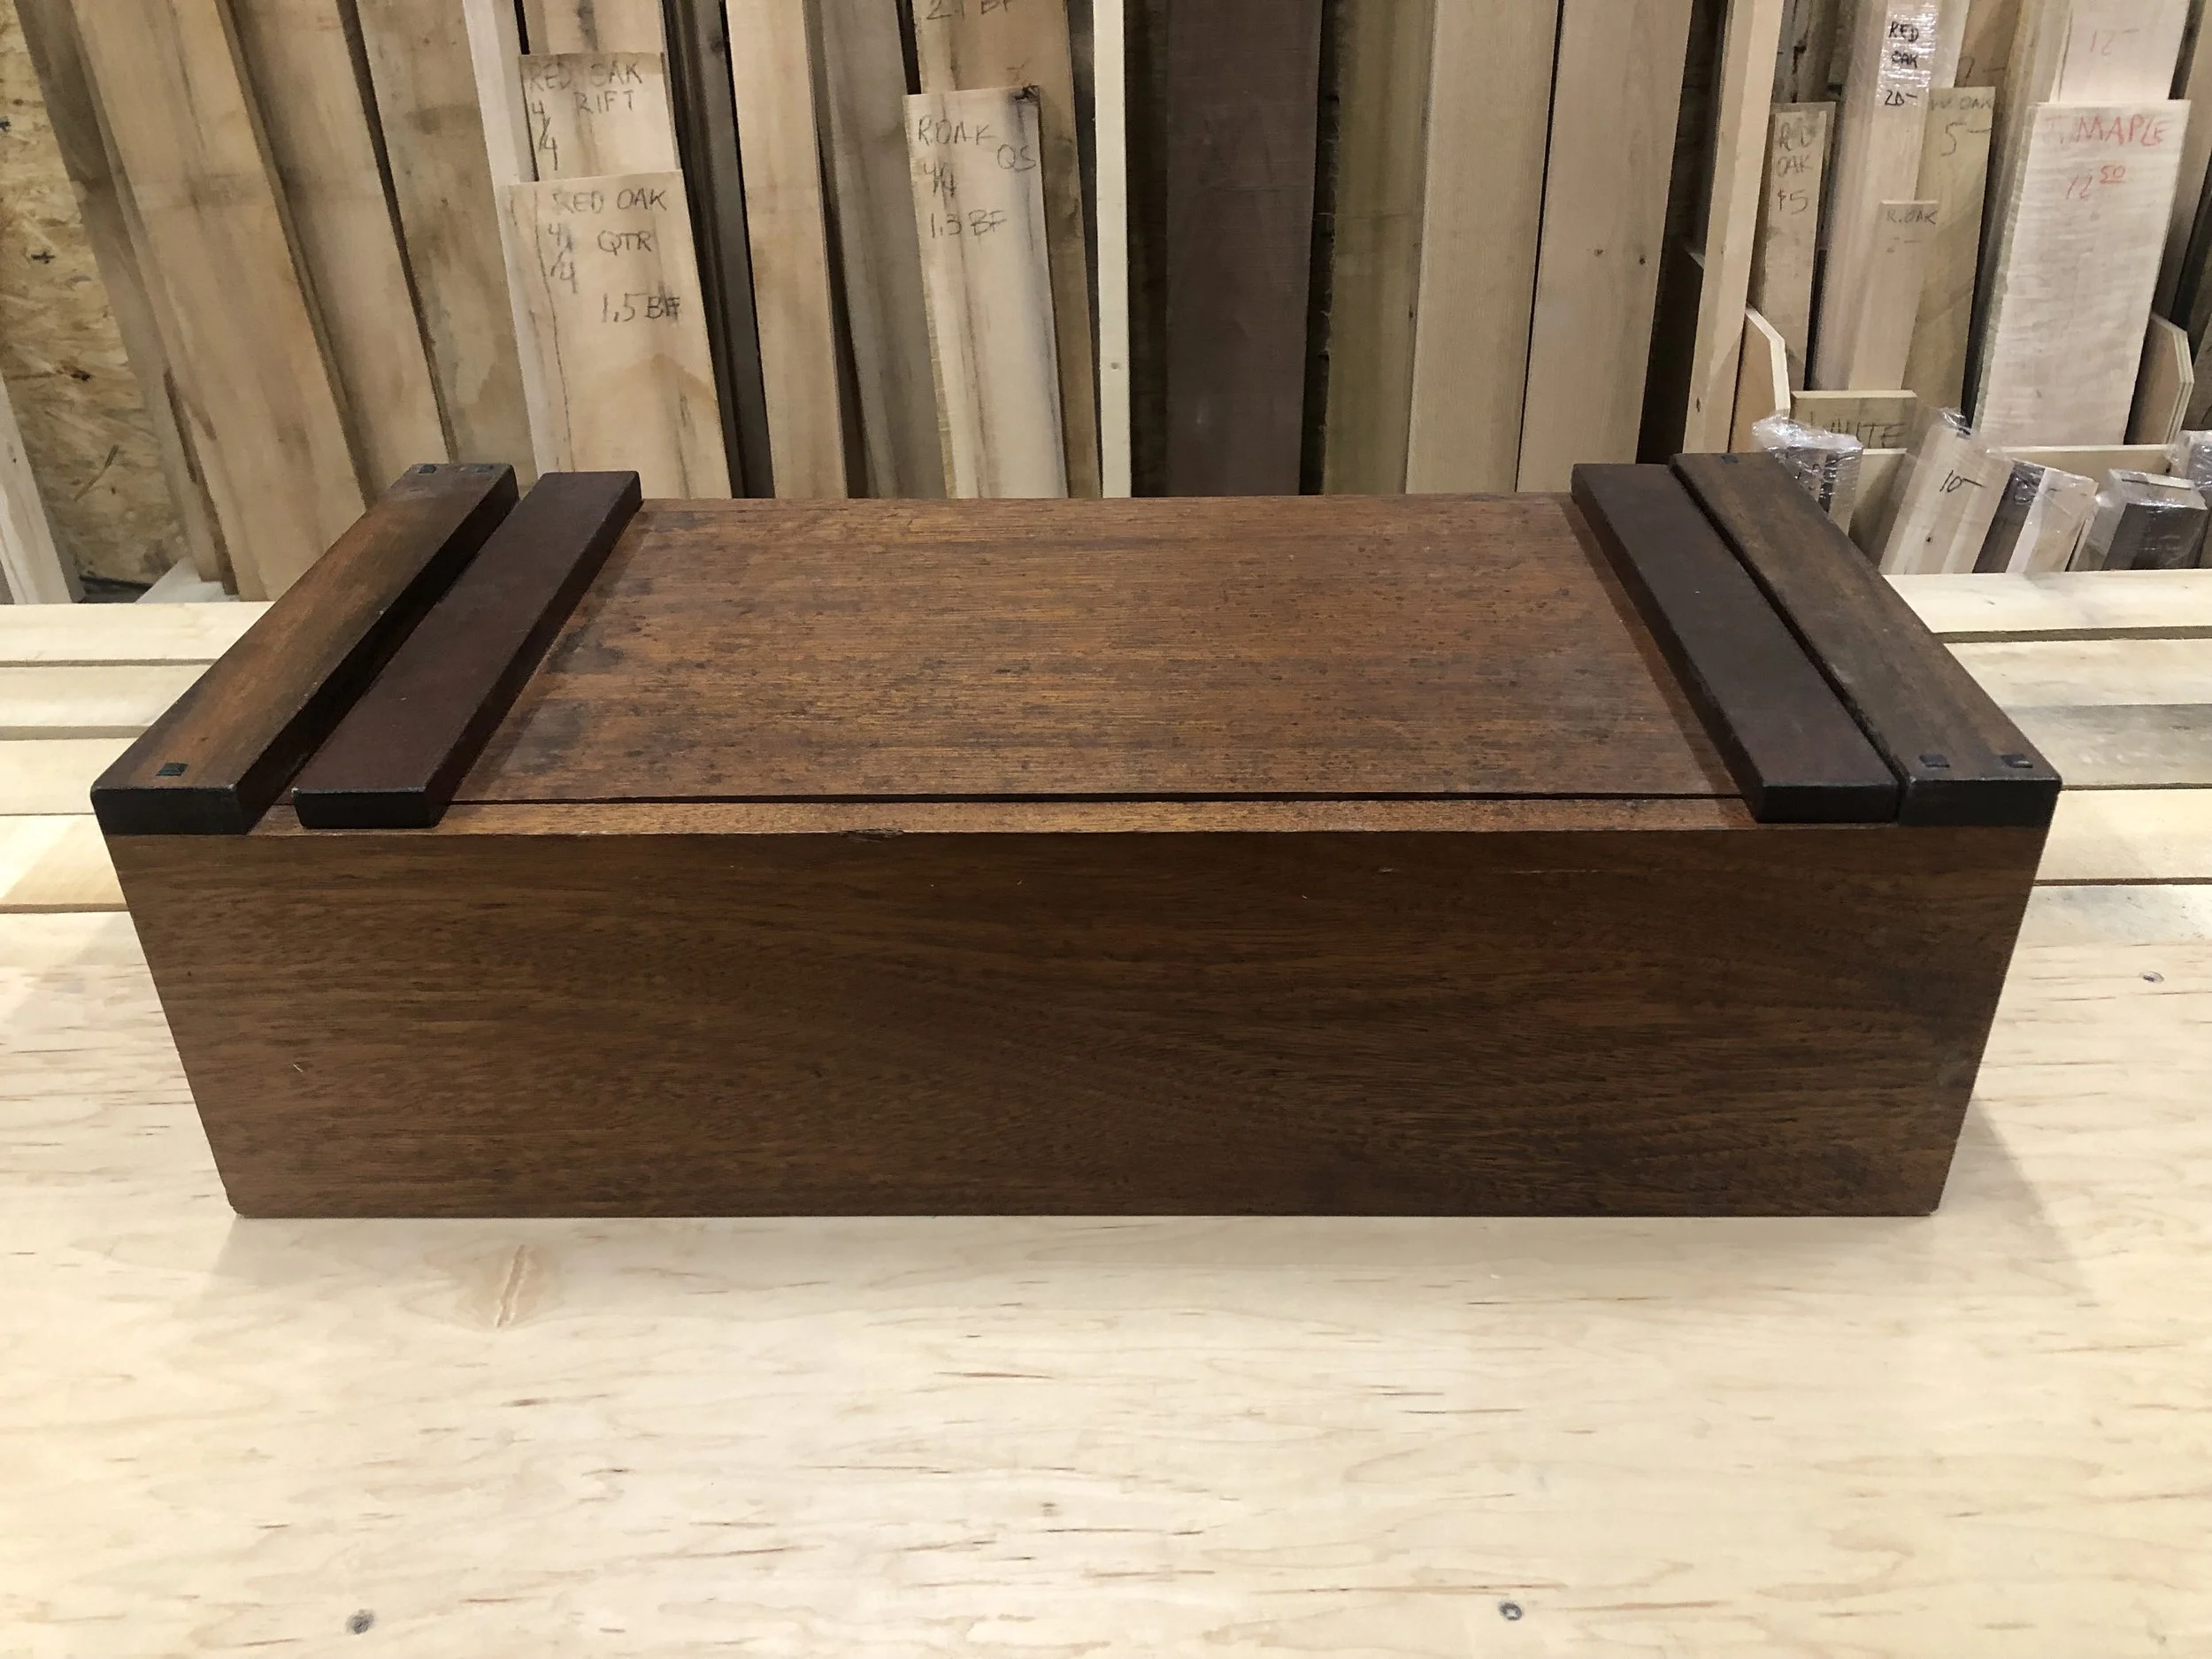
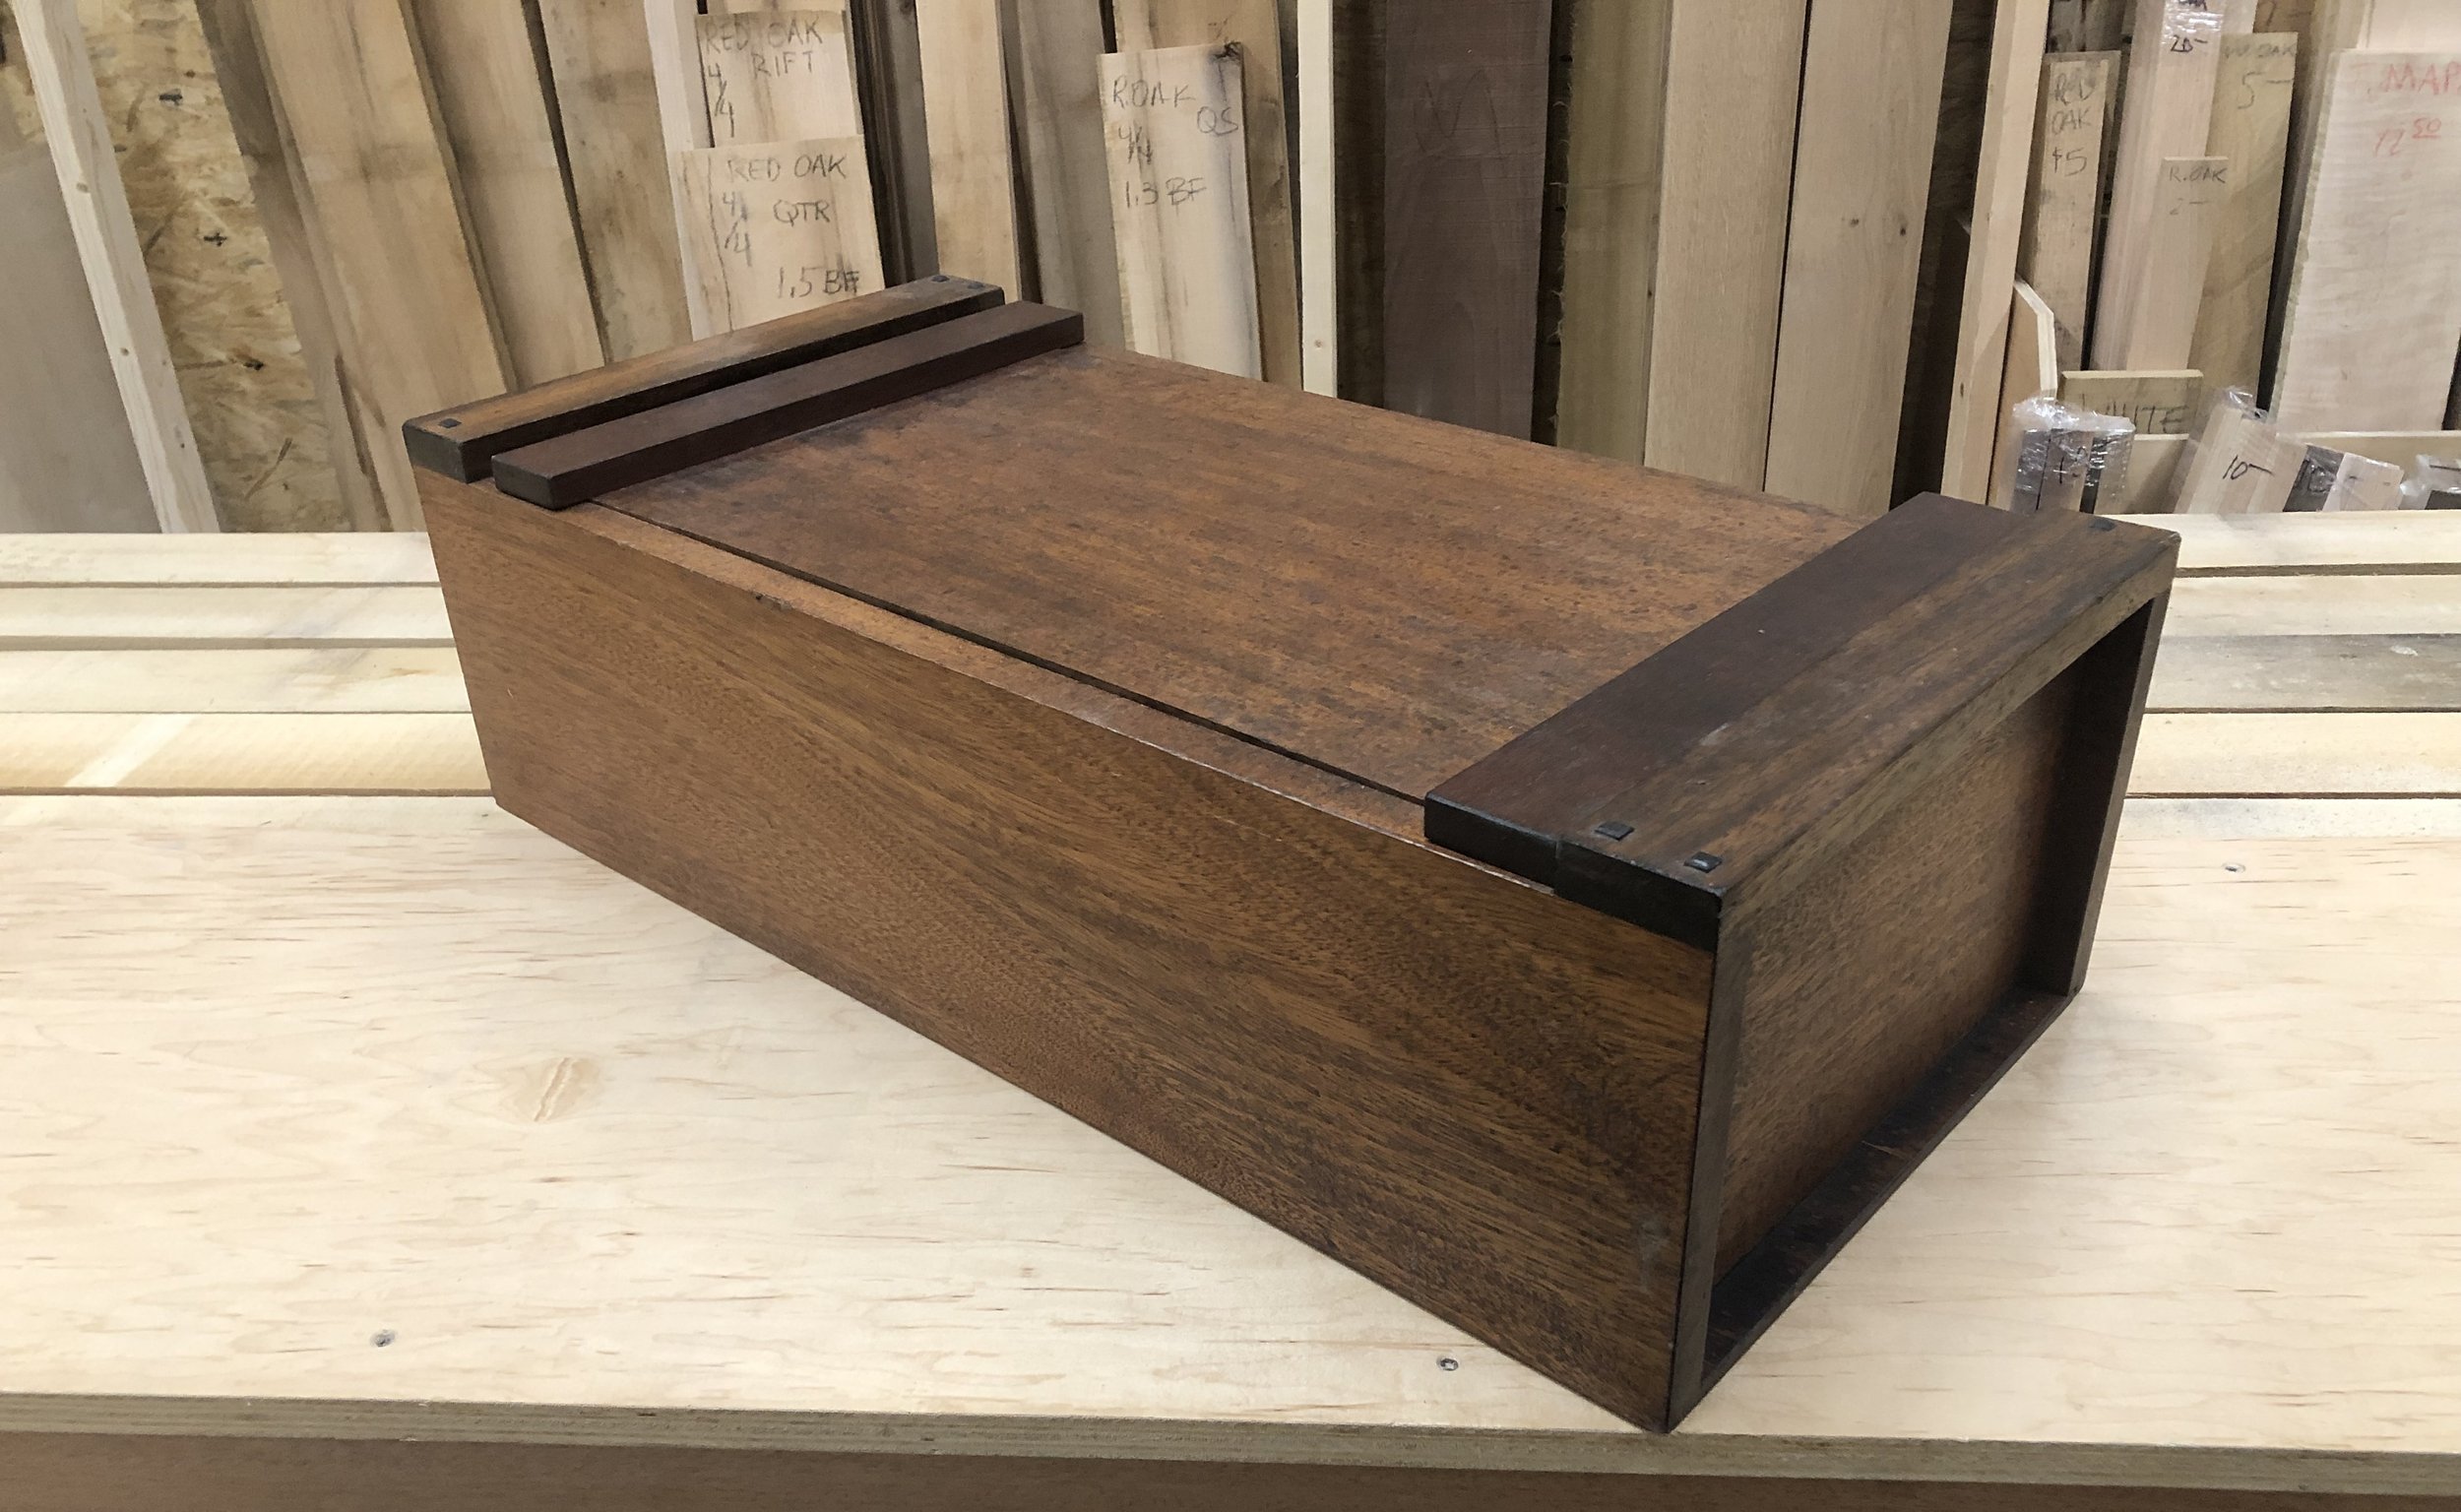
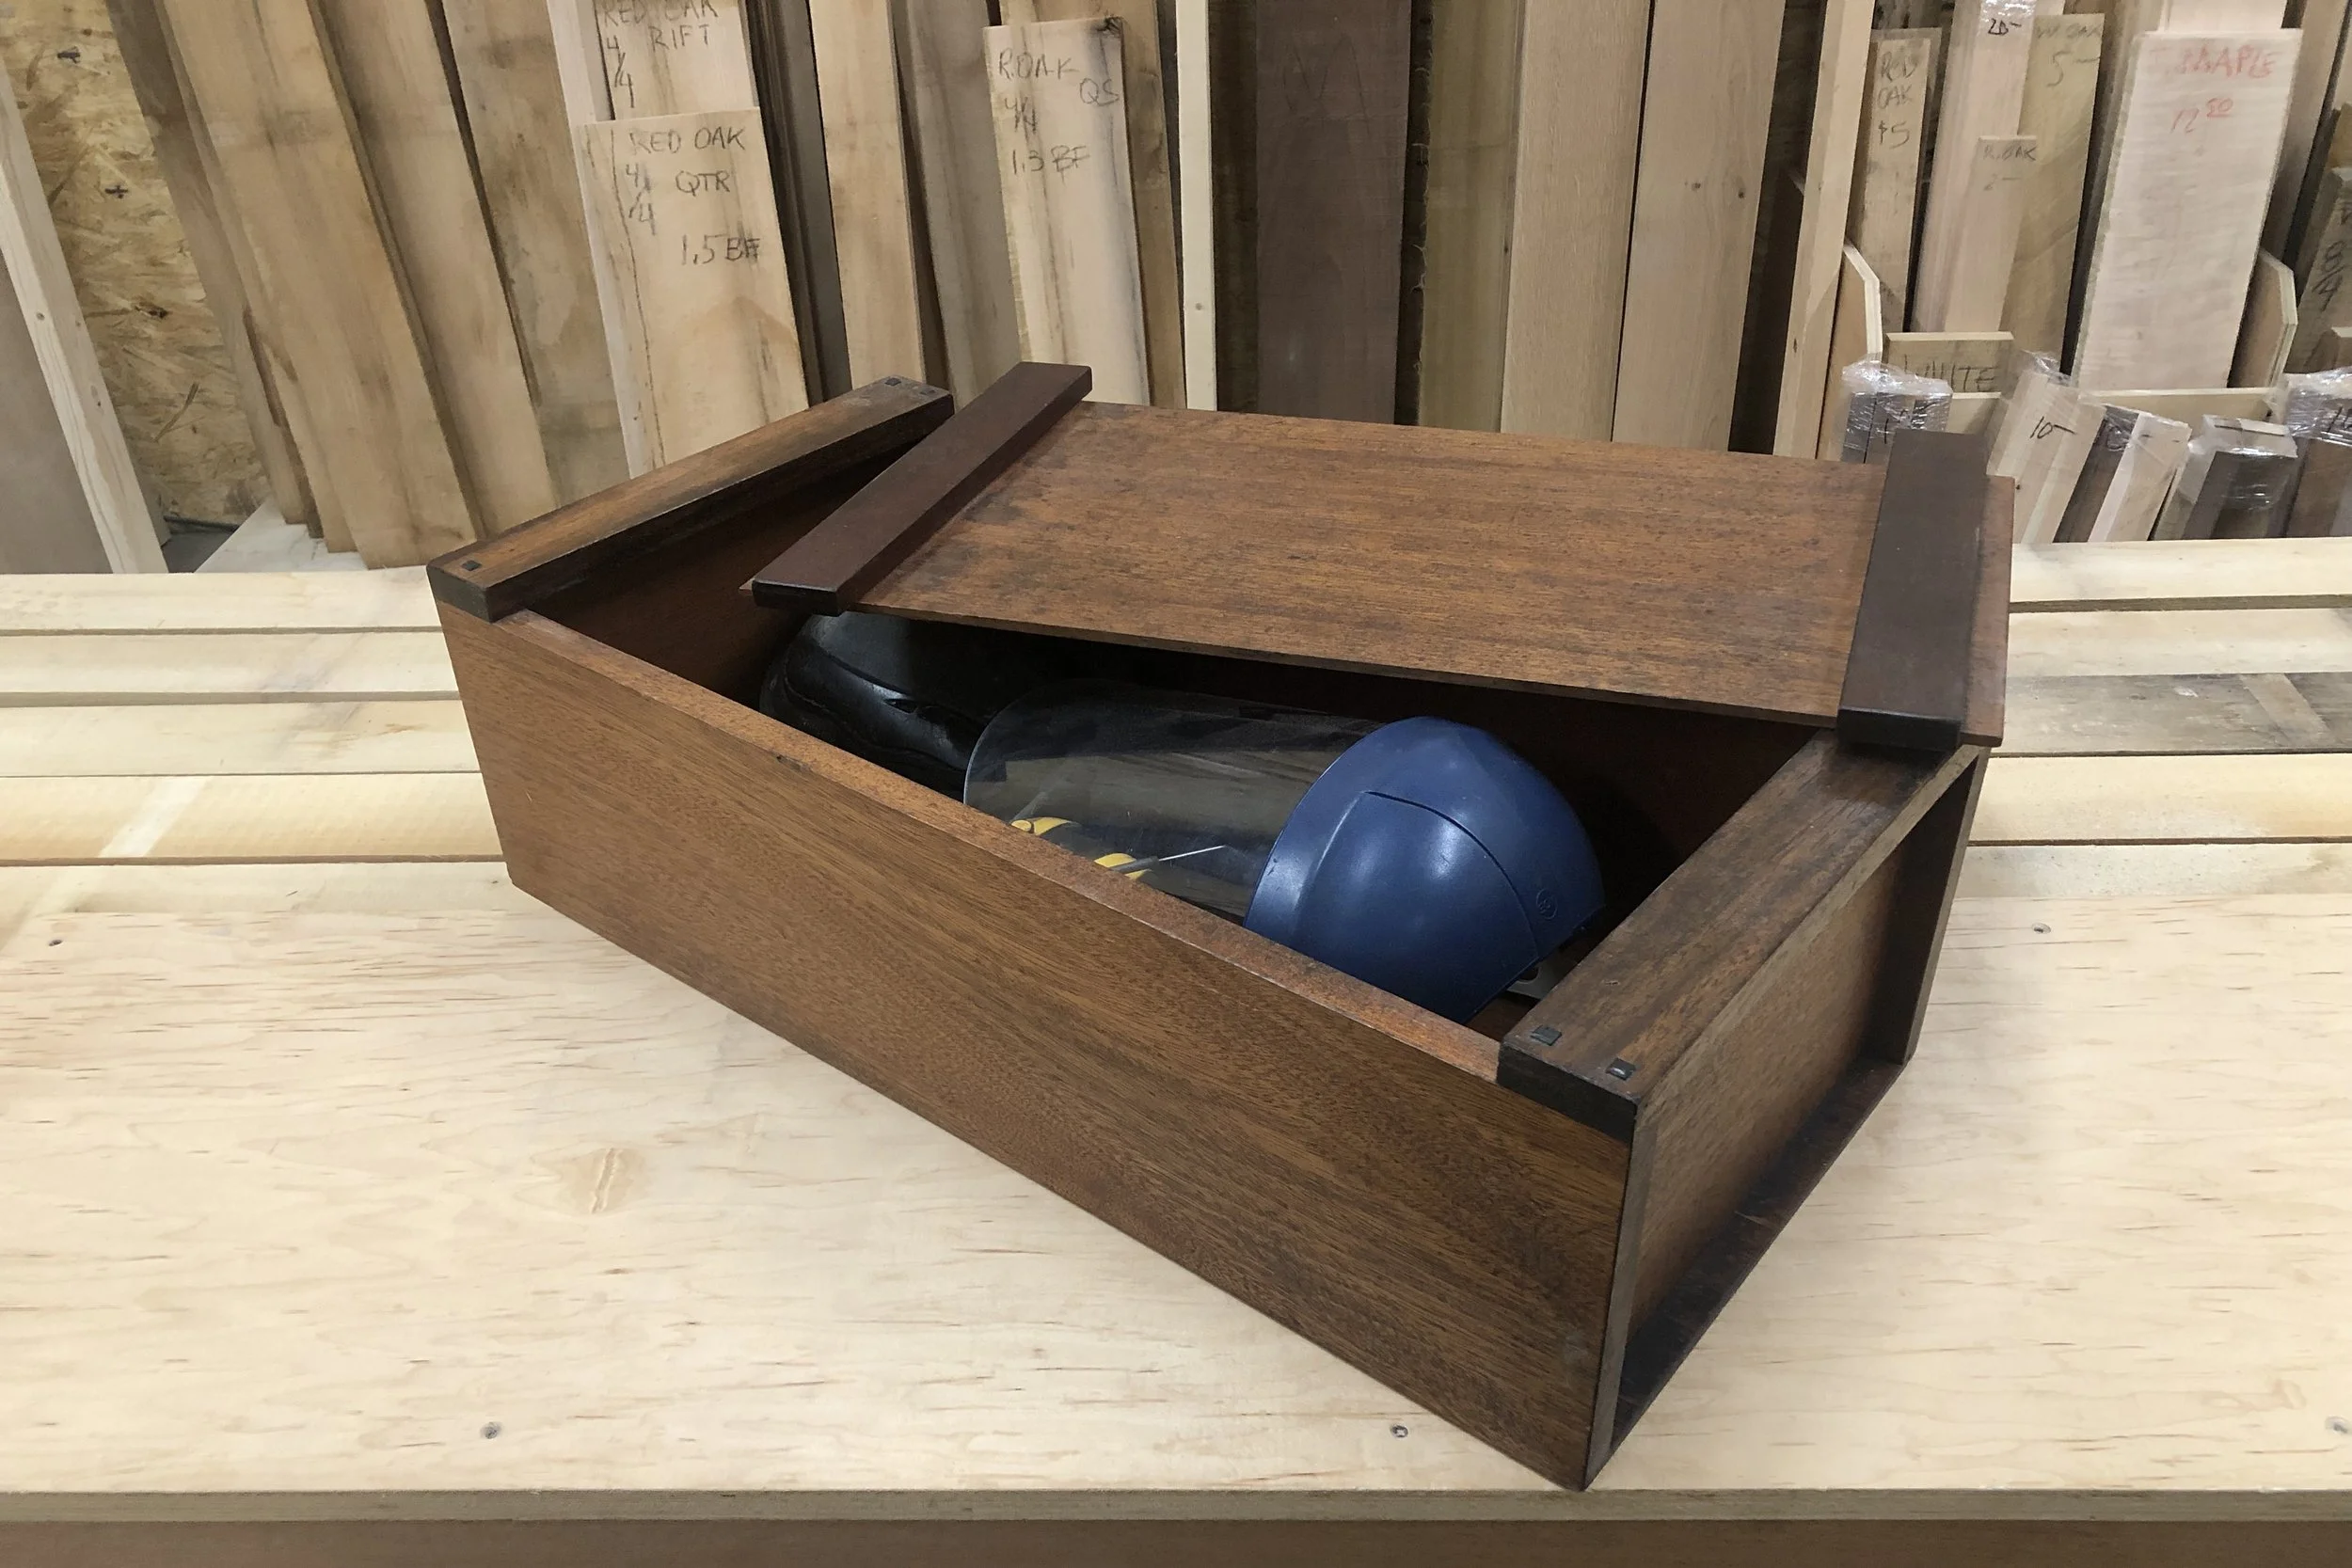
At first glance, the traditional sliding lid box is a simple catch all. Just remove the lid and load it up. But add some runners and some trays and you have a versatile and highly customizable work box. I use mine to store personal protective gear and job specific tools I don’t carry in my woodworking box. This keeps the weight down in both toolboxes.In the end, there’s probably no perfect portable toolbox. Each has its advantages and shortcomings. The biggest temptation is to pack it full of every conceivable gadget and to overload it where it’s too heavy to move. So here are some tips to reduce clutter and weight:Empty the toolbox and sort the content into 3 groups: keep, keep but not in the toolbox, and give away or sell.Remove random leftover fasteners and the accumulation of non tool items. That unmarked ring of keys you’ve been saving is definitely out.If you haven’t used a certain tool in several years, then it probably should go.Reduce redundancy. You probably only need one plumb bob. Keep the historic collection at home.Keep at least one odd ball tool that your friends won’t be able to identify so you can win lunch bets.