

Make a Scrub Plane from a Flea Market Find
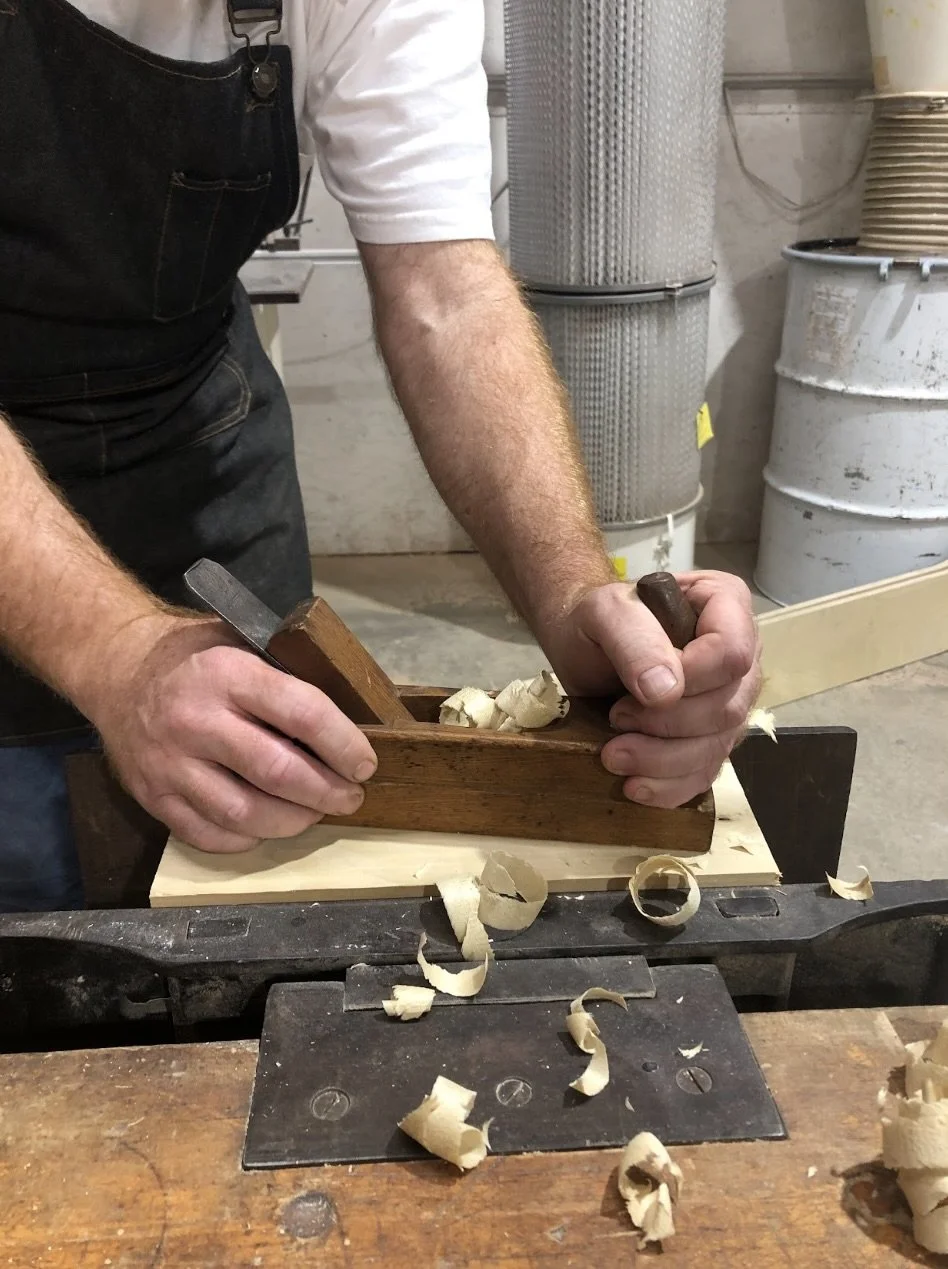
We are hosting a giveaway of this Scrub Plane! Click here for information on how to enter!
By Chris Black
I recently purchased a vintage wooden continental jack plane at a local flea market with the intent of converting it into a scrub plane. Scrub planes usually run from 9” to 10 1/2” long, have wide open throats and convex blades. The curved blade is designed to efficiently remove large amounts of stock from lumber, while the larger throat allows the thicker chips to pass through without clogging. You might think of scrub planes as sweat powered thickness planers. While historically considered a thicknessing tool, modern woodworkers use scrub planes to distress table tops or add surface diversity to case panels. On a side note, you may have noticed this type of European jack plane is considerably shorter at around 9 7/8” in length than say a typical Stanley No.5 jack plane which runs approximately 14” long. Clean and Repair
Ideally, you want to pick a plane that’s already in fairly good shape. Check to make sure that if there are any defects that they are ones you can confidently repair. Inspect the back of the blade for pitting. While this is less important for a scrub plane than say a smoothing plane, the pits will still leave witness lines in the wood. Also look for a plane that has a single blade and not one that has a chip-breaker. That way you won’t have to modify the chip-breaker after you reshape the blade. Start the cleaning process by removing the wedge and blade. Do this by firmly gripping the body of the plane and the blade and wedge with one hand, and bashing the heel of the plane with a mallet with the other hand. 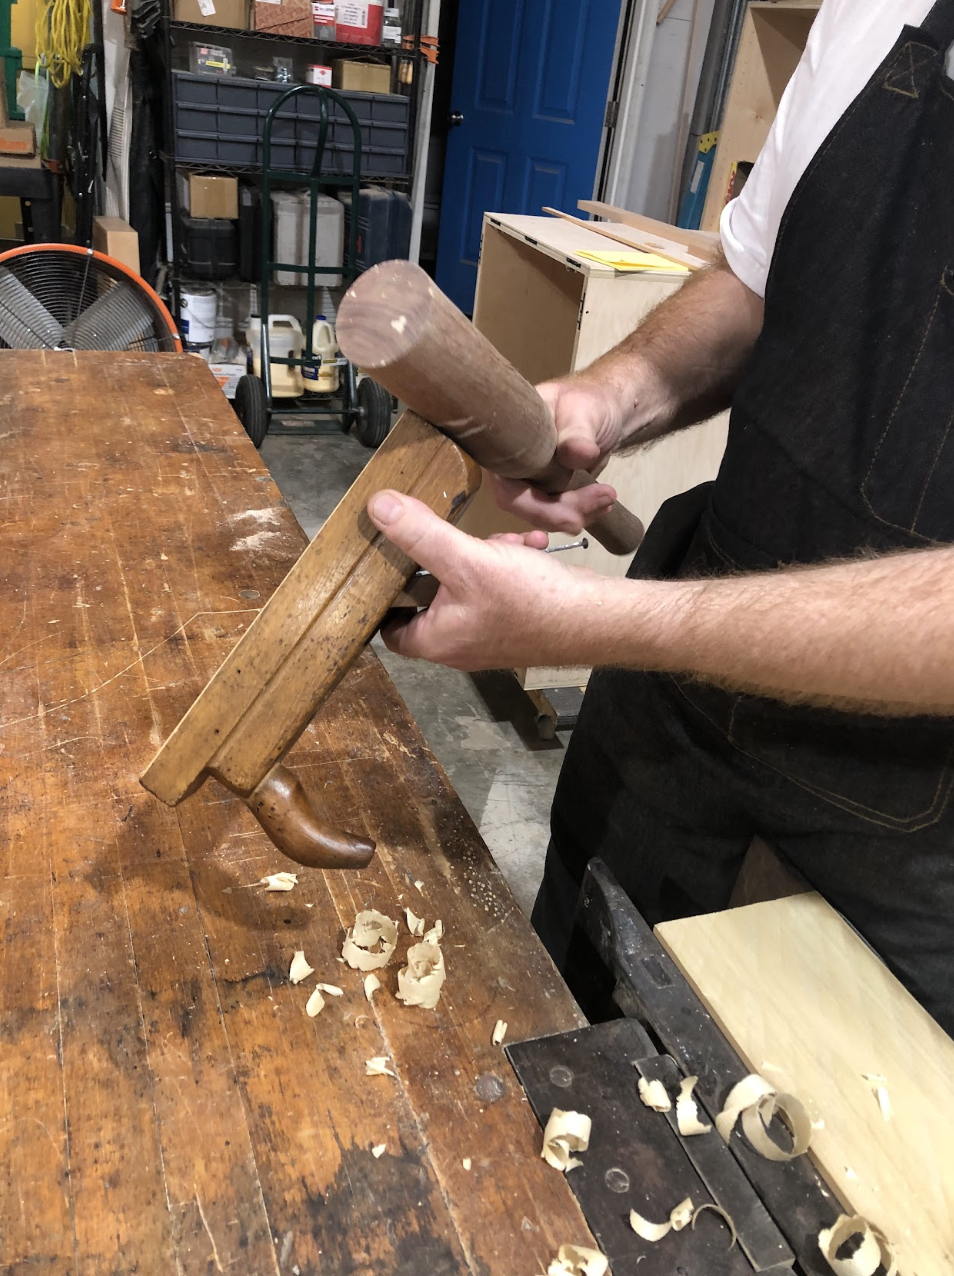
The shock from the mallet blow will properly loosen the wedge without sliding the wedge back and forth, which will eventually damage it. If necessary, derust the blade by submerging it in a container of Evaporust and following the instructions on the label. The wooden parts of the plane can be cleaned with a solution of dishwashing soap and water. Use a toothbrush to remove stubborn dirt. Once the wooden portions are dry, use the toothbrush and some paint thinner to dissolve any grease or wax that may remain. Tune the Body and the Wedge
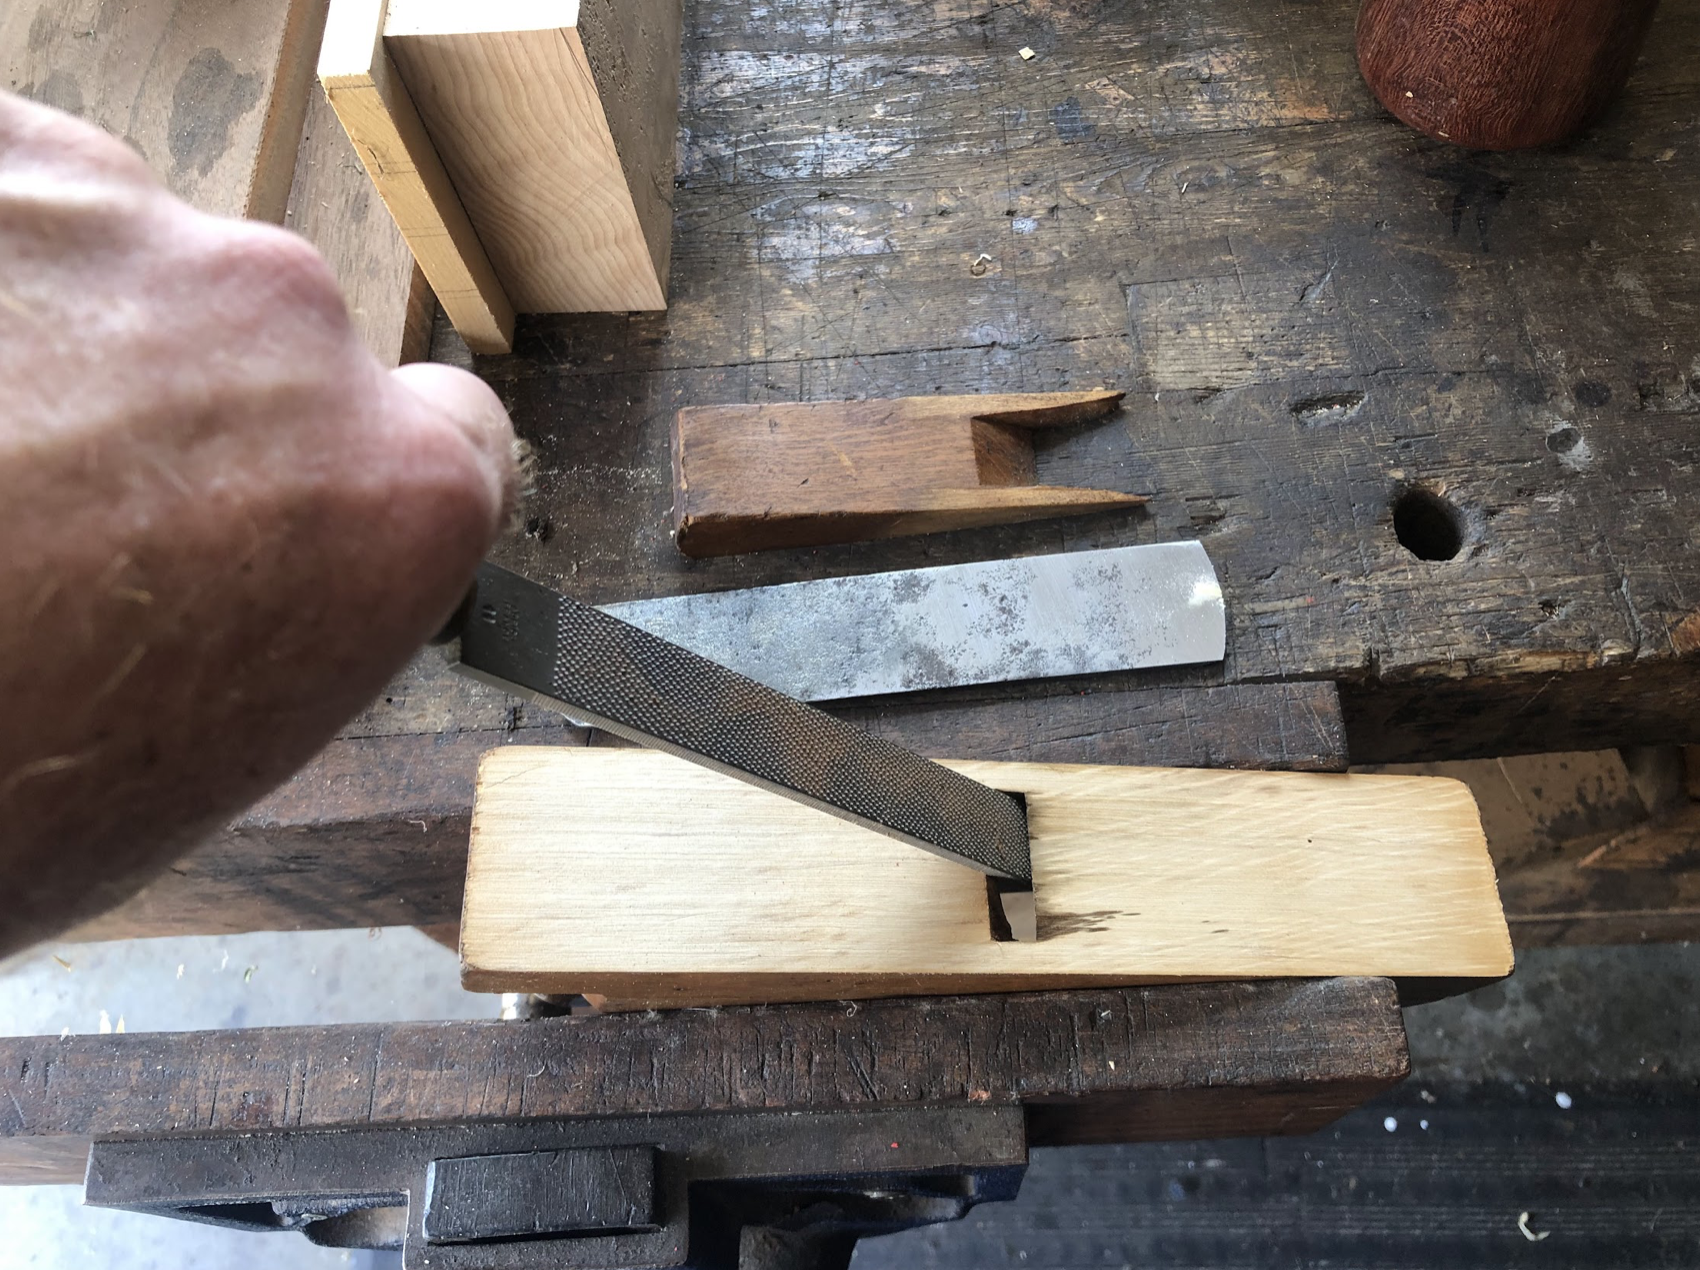
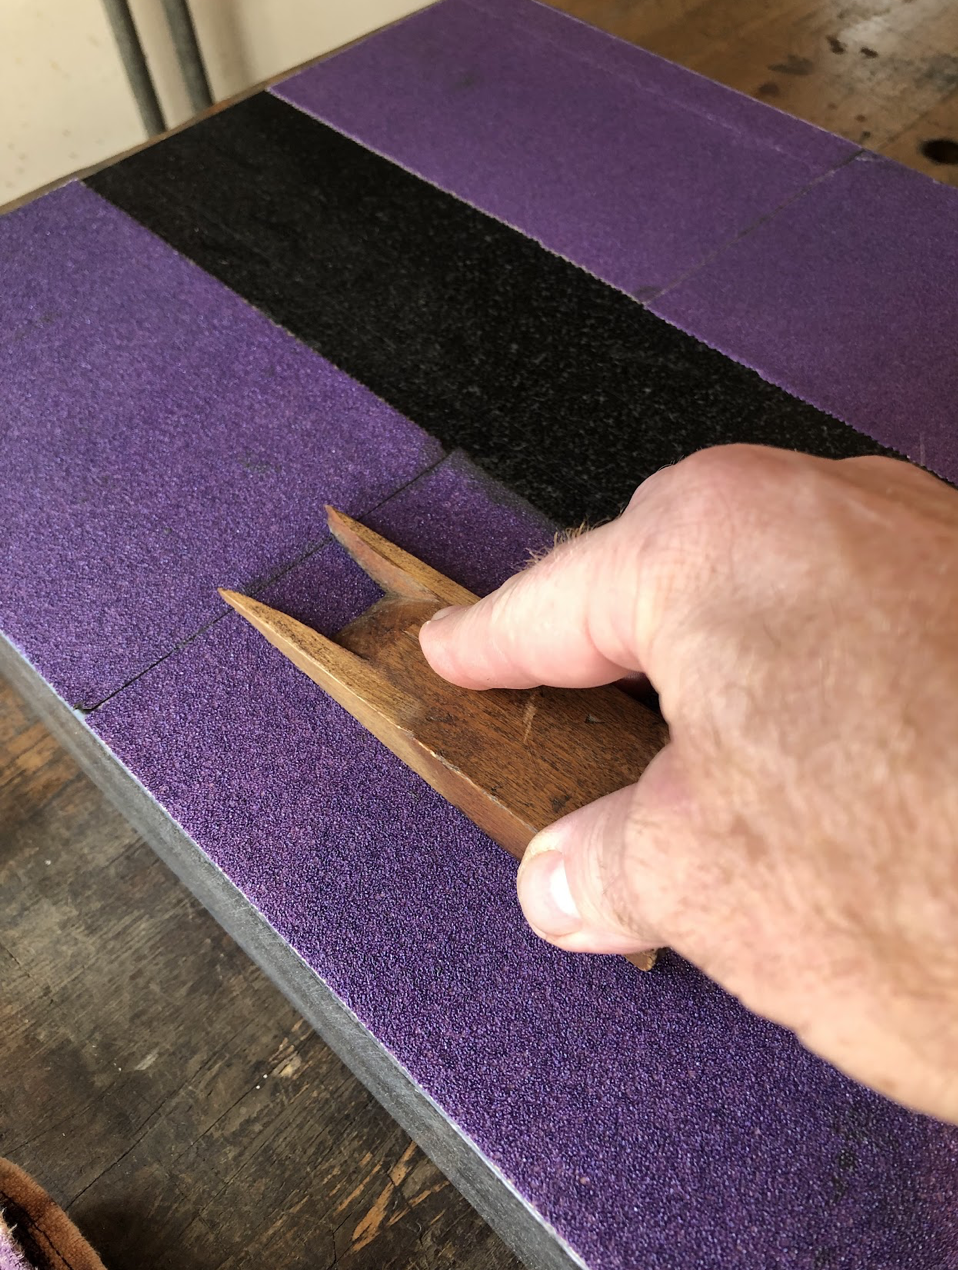
The sole of the plane can be flattened on a well tuned jointer set very fine to remove the minimum amount of material with each pass. If you don’t have access to a jointer, you can flatten the sole on some 120x sandpaper glued to a flat surface. Flatten the back of the wedge that contacts the blade on the sandpaper as well. The throat opening should be in the neighborhood of 3/16” to 1/4”. You can determine the current throat opening by placing the plane on a flat board and installing the blade and the wedge making sure the edge of the blade is just touching the surface of the board. Tap the top of the wedge firmly with a wooden mallet to seat it securely. Now measure the distance. If it’s within the parameters, you should be done. You will confirm this once the blade is reshaped and sharpened by taking a few passes with the plane to see if it clogs with shavings. If so, you may have to open the throat a bit with a file or rasp.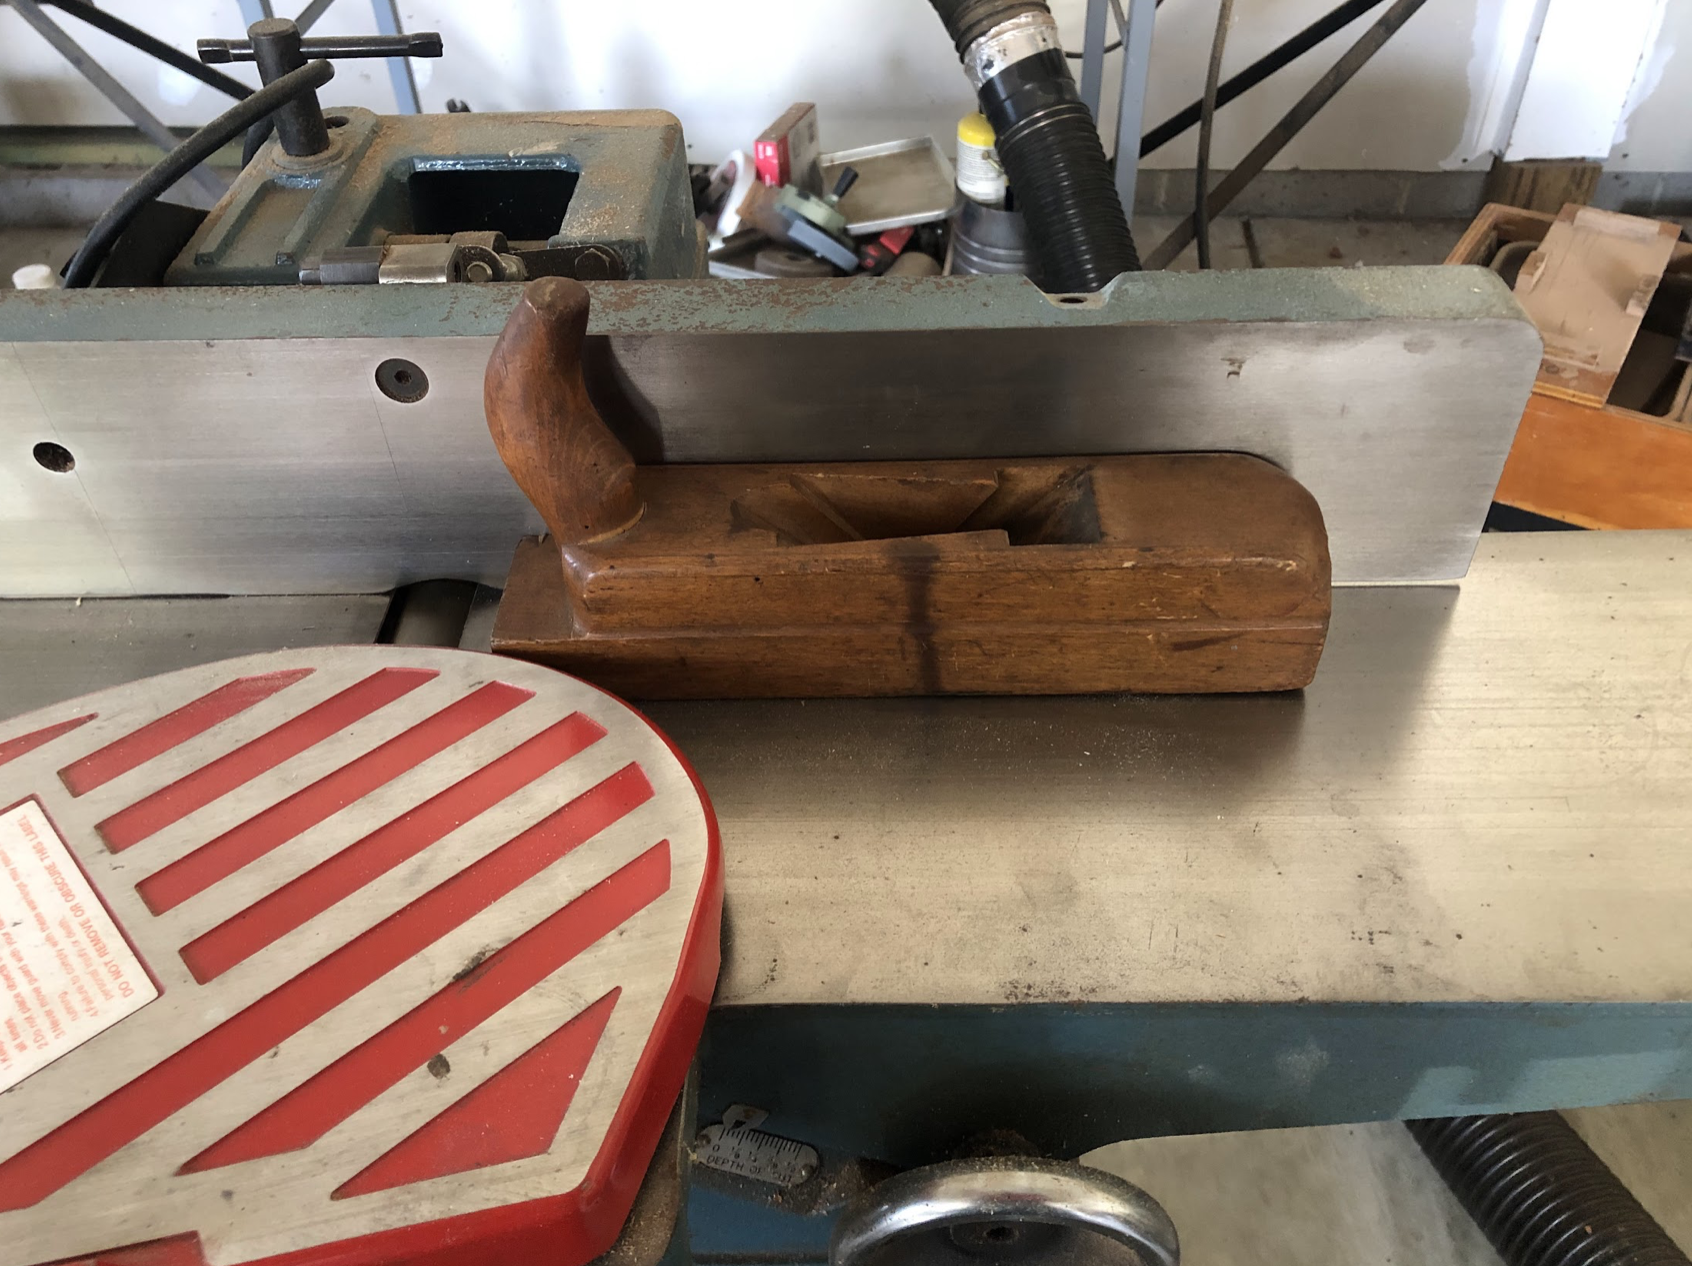
Shaping and Sharpening the Blade
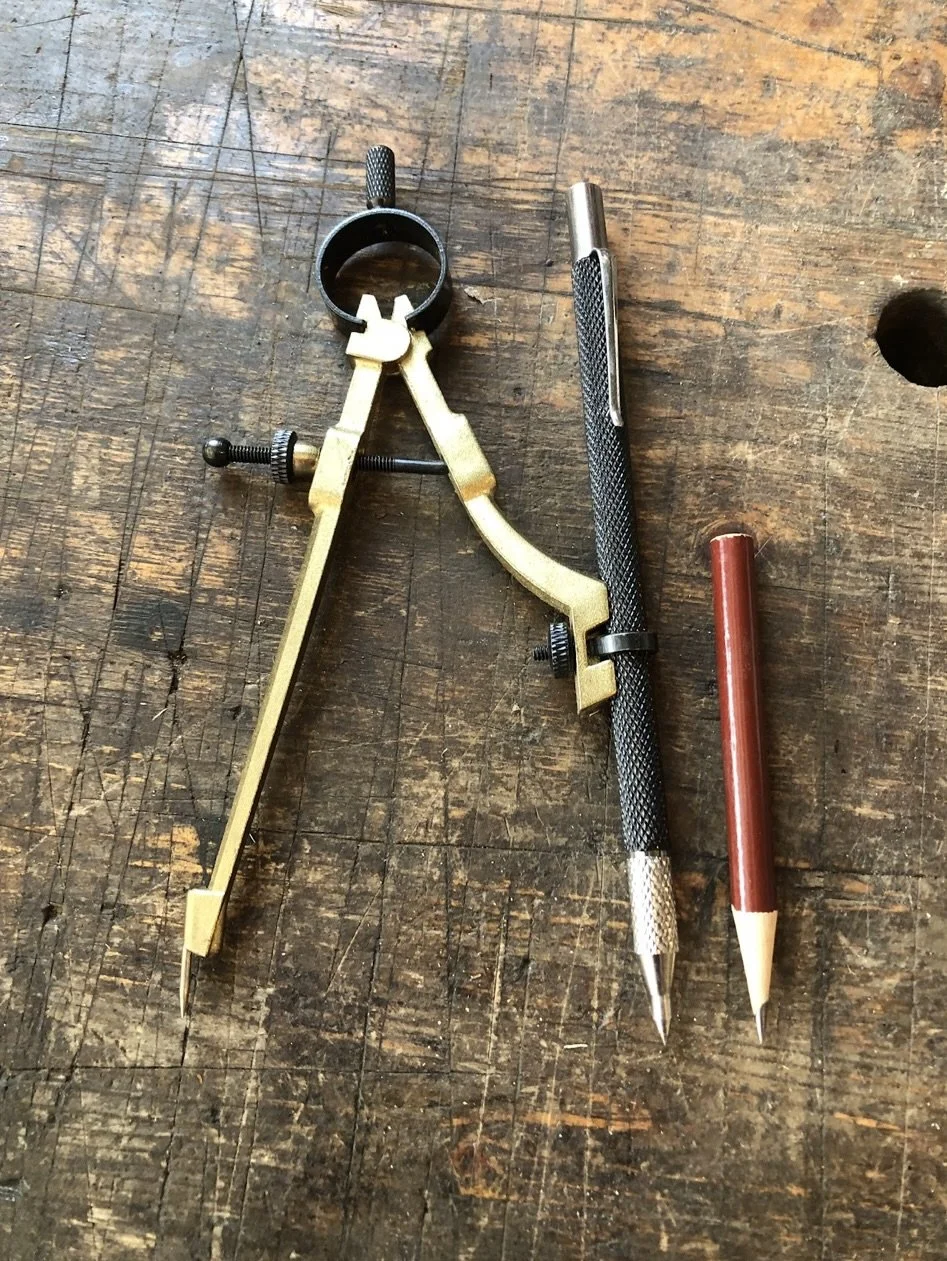
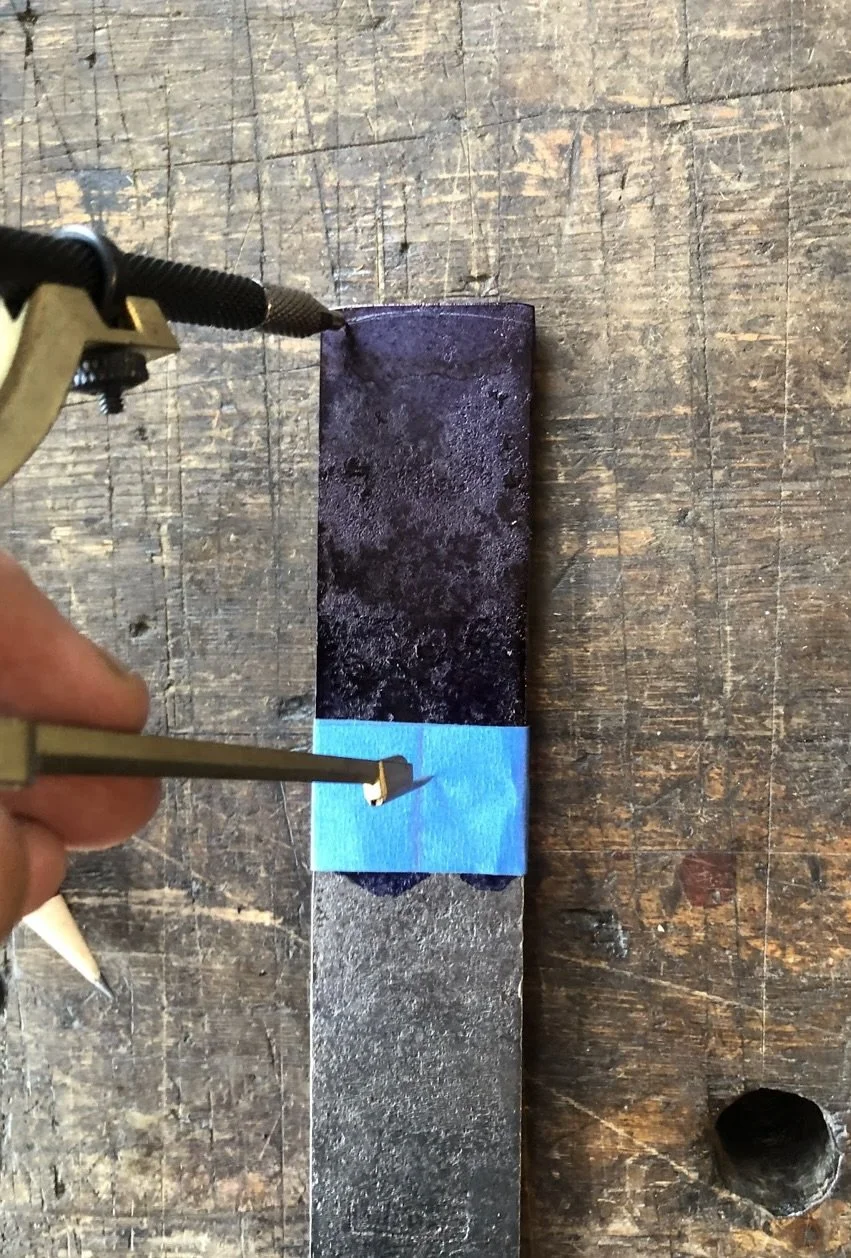
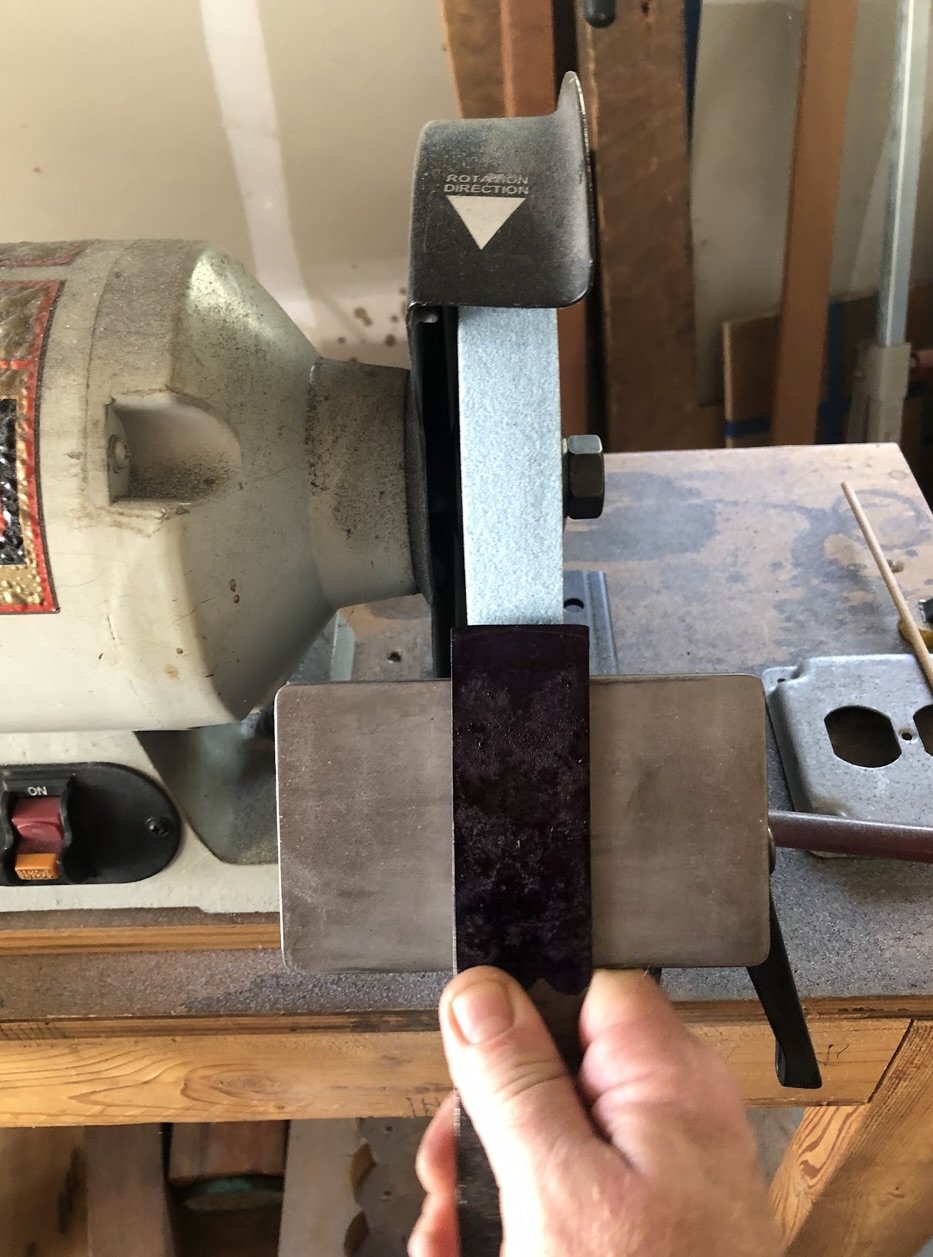
With the bevel of the blade down and the maker’s mark facing up, use machinist’s layout fluid to paint from the edge of the blade down at least 1”. Once it’s dry, you can use a pair of sharpened dividers or a compass with a machinist’s scribe replacing the pencil to score a 3” arch through the blue dye. Start by opening the compass to 3 1/2”. Now, place the pin of the compass just over 3 1/2” down from the cutting edge dead center on the blade. You may have to put a couple of layers of masking tape on the blade to keep the pin of the compass from sliding around. Lay out the arch by scratching through the blue dye with the scribe section of the compass. Using a bench grinder, grind the bevel to approximately 30 degrees until you’ve shaped the bevel to match the scribed line. Once you’ve finished grinding and the blade has cooled down, dip the blade in lacquer thinner to dissolve the layout fluid then wipe off the excess. Now flatten the back and hone the edge.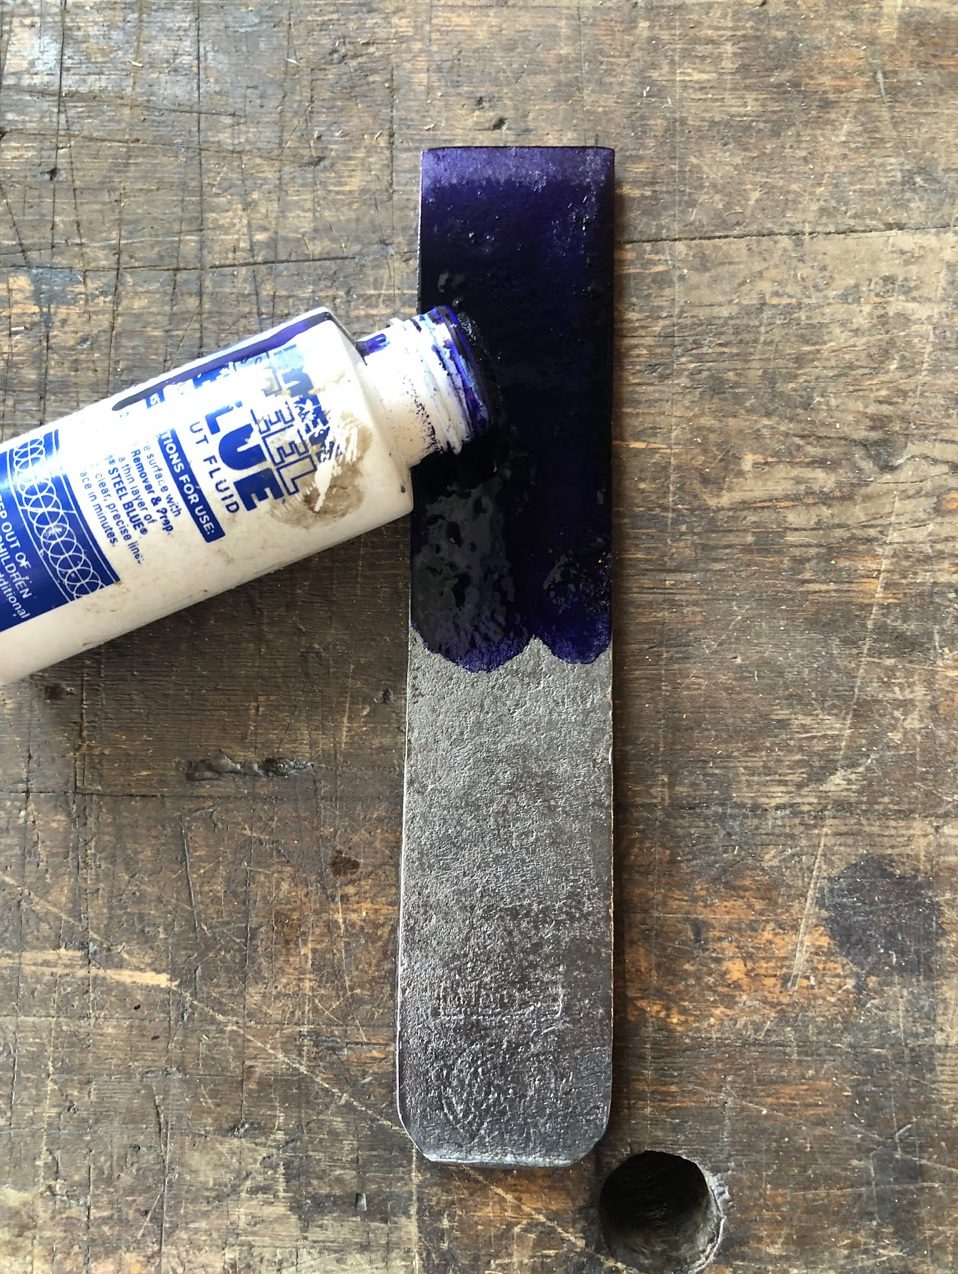
Set Up and Use
Time to take your scrub plane for a test drive. Like earlier, place the plane on a flat piece of wood and insert the blade securing it with the wedge. To advance the blade, tap the back edge of the blade with a small brass hammer and reset the wedge with a wooden mallet. Take a few test cuts diagonally across the length of a scrap board. Check to see if the shavings are clogging the throat. If you can remove the chips with a swipe of a finger, then you’re done. But if the throat opening is jammed up with shavings, you are either trying to plane too much material with each pass or your throat needs to be opened with a file or a rasp.Parting Tips
Sharpening a curved blade can be difficult. Fortunately, the hollow grind left by the grinder in the bevel creates two points of contact on the sharpening stones. So go slowly and try to keep the cutting edge and the heel of the bevel on the stone as you move the blade through the arch. Scrub planes are naturally aggressive cutters so you don’t need much of the blade exposed beneath the plane. This will make planing smooth and easy.